Salt Stitches workshop

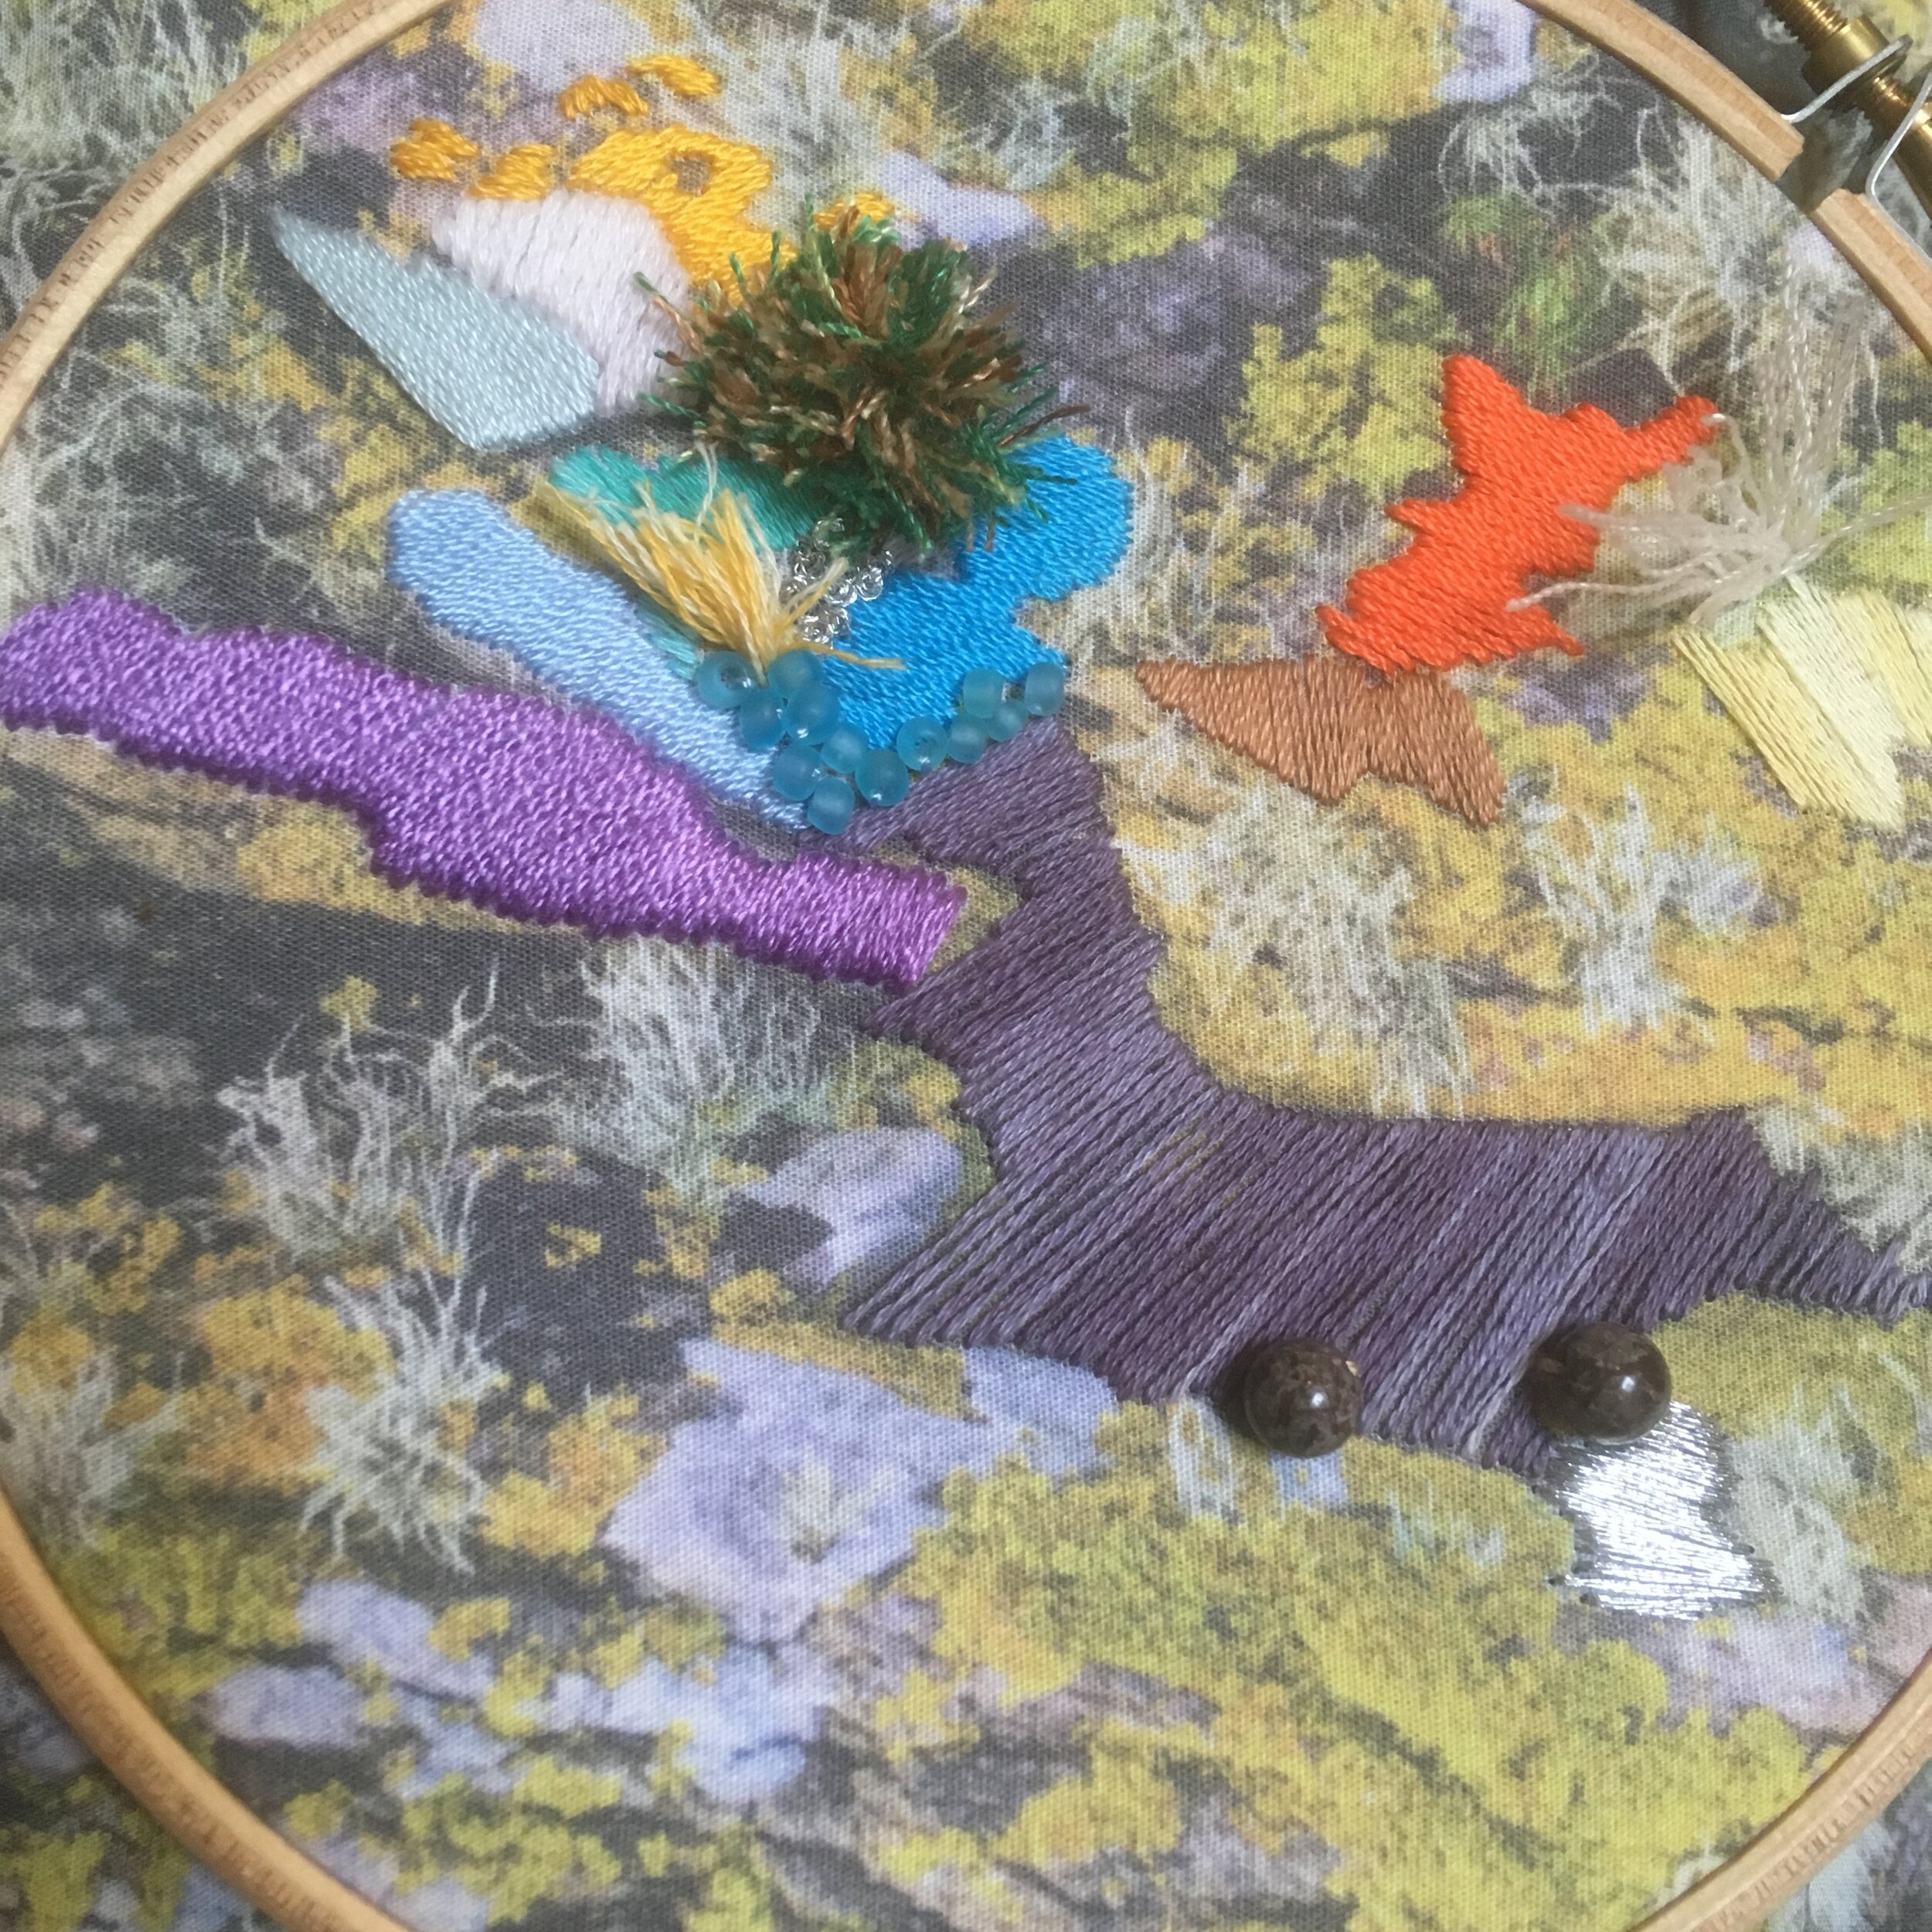
Back in March I treated myself to a workshop with Emily from Salt Stitches. Her work is truly unique and I was fascinated to learn about her process. It’s fairly simple - she photographs ‘textures’ prints them onto fabric and then stitches over them. But the beauty is in how you select the colours, the placing of the colours and the direction of the stitches.
The first three photos show the evolution through the 5 hours of the workshop.

The final photo shows a piece I stitched from scratch using a DIY kit I bought as a birthday treat. In this piece I more carefully picked a colour palette and thought as much about the unstitched areas as the stitched ones.

6AA94782-D43A-4AAC-81DF-EF2ABD0A7A0C.jpeg
736A61CF-6BCC-402B-A280-4949FCD49BC2.jpeg
2462DEF8-1B01-418C-9068-03262CBB60D2.jpeg
DB09E3B6-8A49-404F-BF9B-9093BB19AA12.jpeg

Quilting, stumpwork and smocking

Module 5 of my City & Guild course brings together three very different styles of embroidery.

The first of these, hand quilting, brought back memories from childhood creations. It’s a beautifully simple technique with a rustic appeal. This piece I stitched when I was about 11 (I’ve always loved a bead embellishment) compared to the piece I stitched for this module.

public.jpeg
IMG_4021.JPG

The second technique broke down two of the elements of stump work embroidery, lines and needlelace. The design was based on the same inspiration used for module 1, I used a brown colour palette for the stumpwork piece as the shapes seemed forest/twig like. In contrast I used greens for the needlelace sample.

IMG_4046.JPG
IMG_4996.jpg

The final technique was smocking, which also brought back childhood memories of cute little gingham dresses. There are two elements to any piece of smocking - firstly creating the pleats and secondly adding the smocking stitches.

IMG_4088.jpg