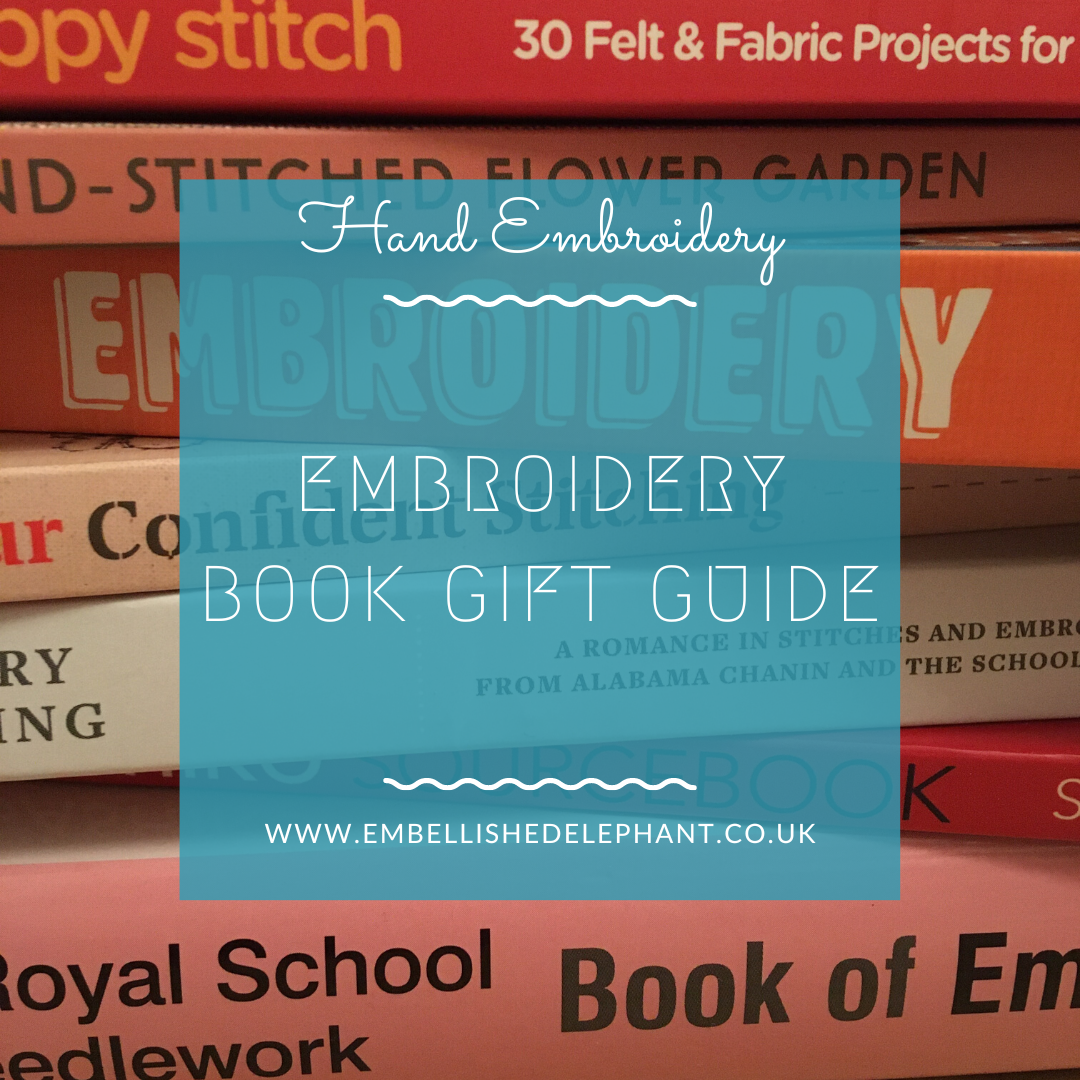
As I write this Christmas is approaching and I’ve been asked by my family what gifts I’d like. For the last few years there has always been an embroidery book or two on the list and here are some of my favourites that would make great gifts for yourself or the keen crafter in your life.
They are listed in no particular order and I’ve tried to include quite a diverse selection.
You can shop for all of these books via my bookshop.org embroidery book list *. The links for each book will take you to that individual title.
Please note: I am an affiliate of bookshop.org. This means that I may get a commission if you shop through this link but it doesn’t impact the price you pay. Affiliate links are marked with a (*). And, of course, you are free to purchase these books through a retailer of your choice.
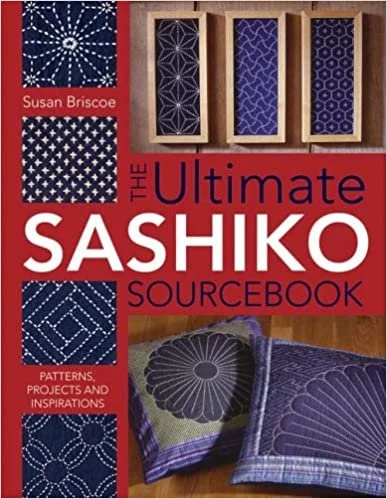
The Ultimate Sashiko Sourcebook - Susan Briscoe *
Gives ideas for projects and plenty of design options and inspiration. It also gives the meaning behind each of the motif patterns.
Perfect if you like to understand the wider context of hand crafting alongside the practical.
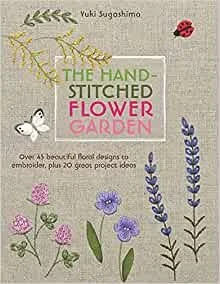
The Hand-Stitched Flower Garden - Yuki Sugashima *
Beautiful and delicate floral, leaf and seed patterns stitched using a range of different embroidery techniques.
Great if you love to stitch seasonally inspired by nature and want to try 3-D embroidery or working with embellishments.
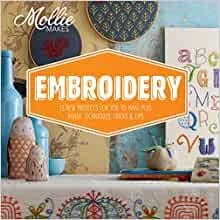
Embroidery - Mollie Makes *
There are some project ideas but what is really great about this book is the stitch technique section which guides you through how to create lots of different stitches.
A perfect book if you are just starting out with embroidery as it has a very accessible style.
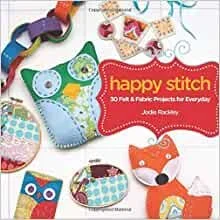
Happy Stitch - Jodie Rackley
This book combines felt, fabric and simple embroidery stitches to make some fun projects.
A good book for small projects that use a little bit of embroidery. Many projects could be completed with kids.
Amazon link as this book isn’t available on bookshop.org
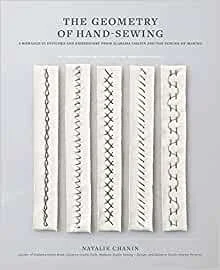
The Geometry of Hand Sewing - Natalie Chanin *
The book has a very minimal style and gets you to think about the creation of embroidery stitches by seeing what type of grid it is based on and how this can create stitch variations.
Order this if you like a touch of mathematics with your embroidery, but don’t let you put you off, it is beautiful book to look at too!
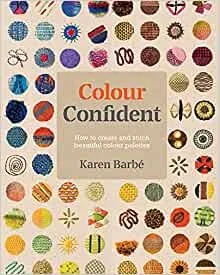
Colour Confident Stitching - Karen Barbé *
The focus of this book is colour rather than embroidery stitches themselves. It isn’t just about colour theory but how to be inspired by colour and build a colour palette for your embroidery.
Great at connecting you with how colour changes how your embroidery can evoke feelings rather than just focussing on how pretty it looks.
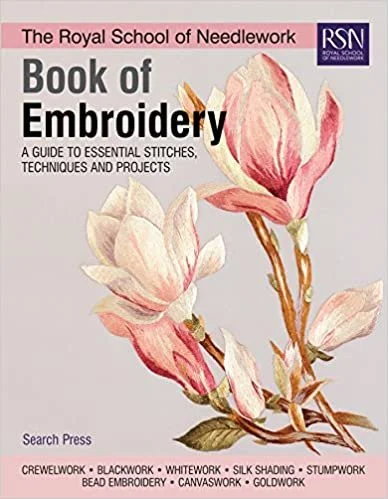
Book of Embroidery - Royal School of Needlework *
A detailed reference book covering many different techniques. I bought this as it covered some styles of embroidery I couldn’t find information about online.
The book to buy if you want to explore more techniques and styles and want an authoritative reference point.
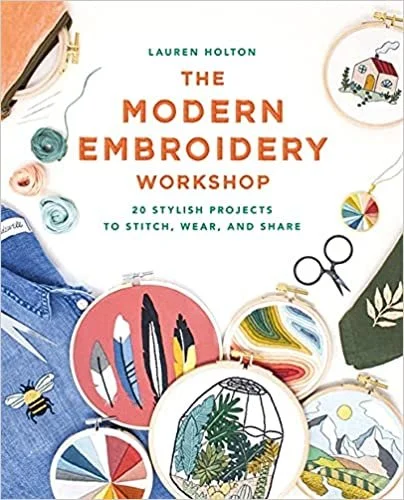
The Modern Embroidery Workshop - Lauren Holtman *
I bought this book as I fell in love with a couple of Lauren’s patterns online (@larkrising on Instagram).
Buy this book if you want 20 gorgeous embroidery patterns to stitch (the marbling and feathers are my favourites).
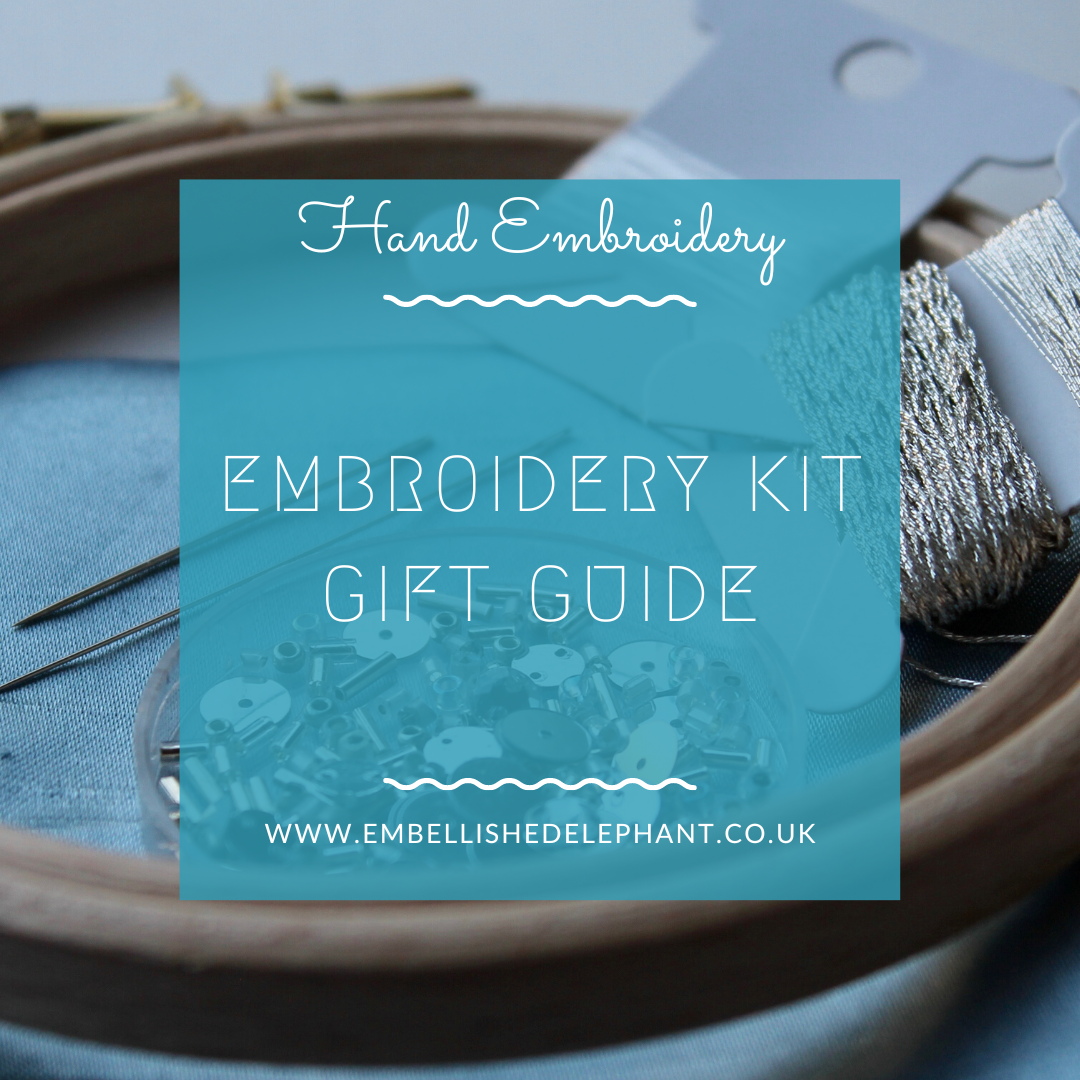
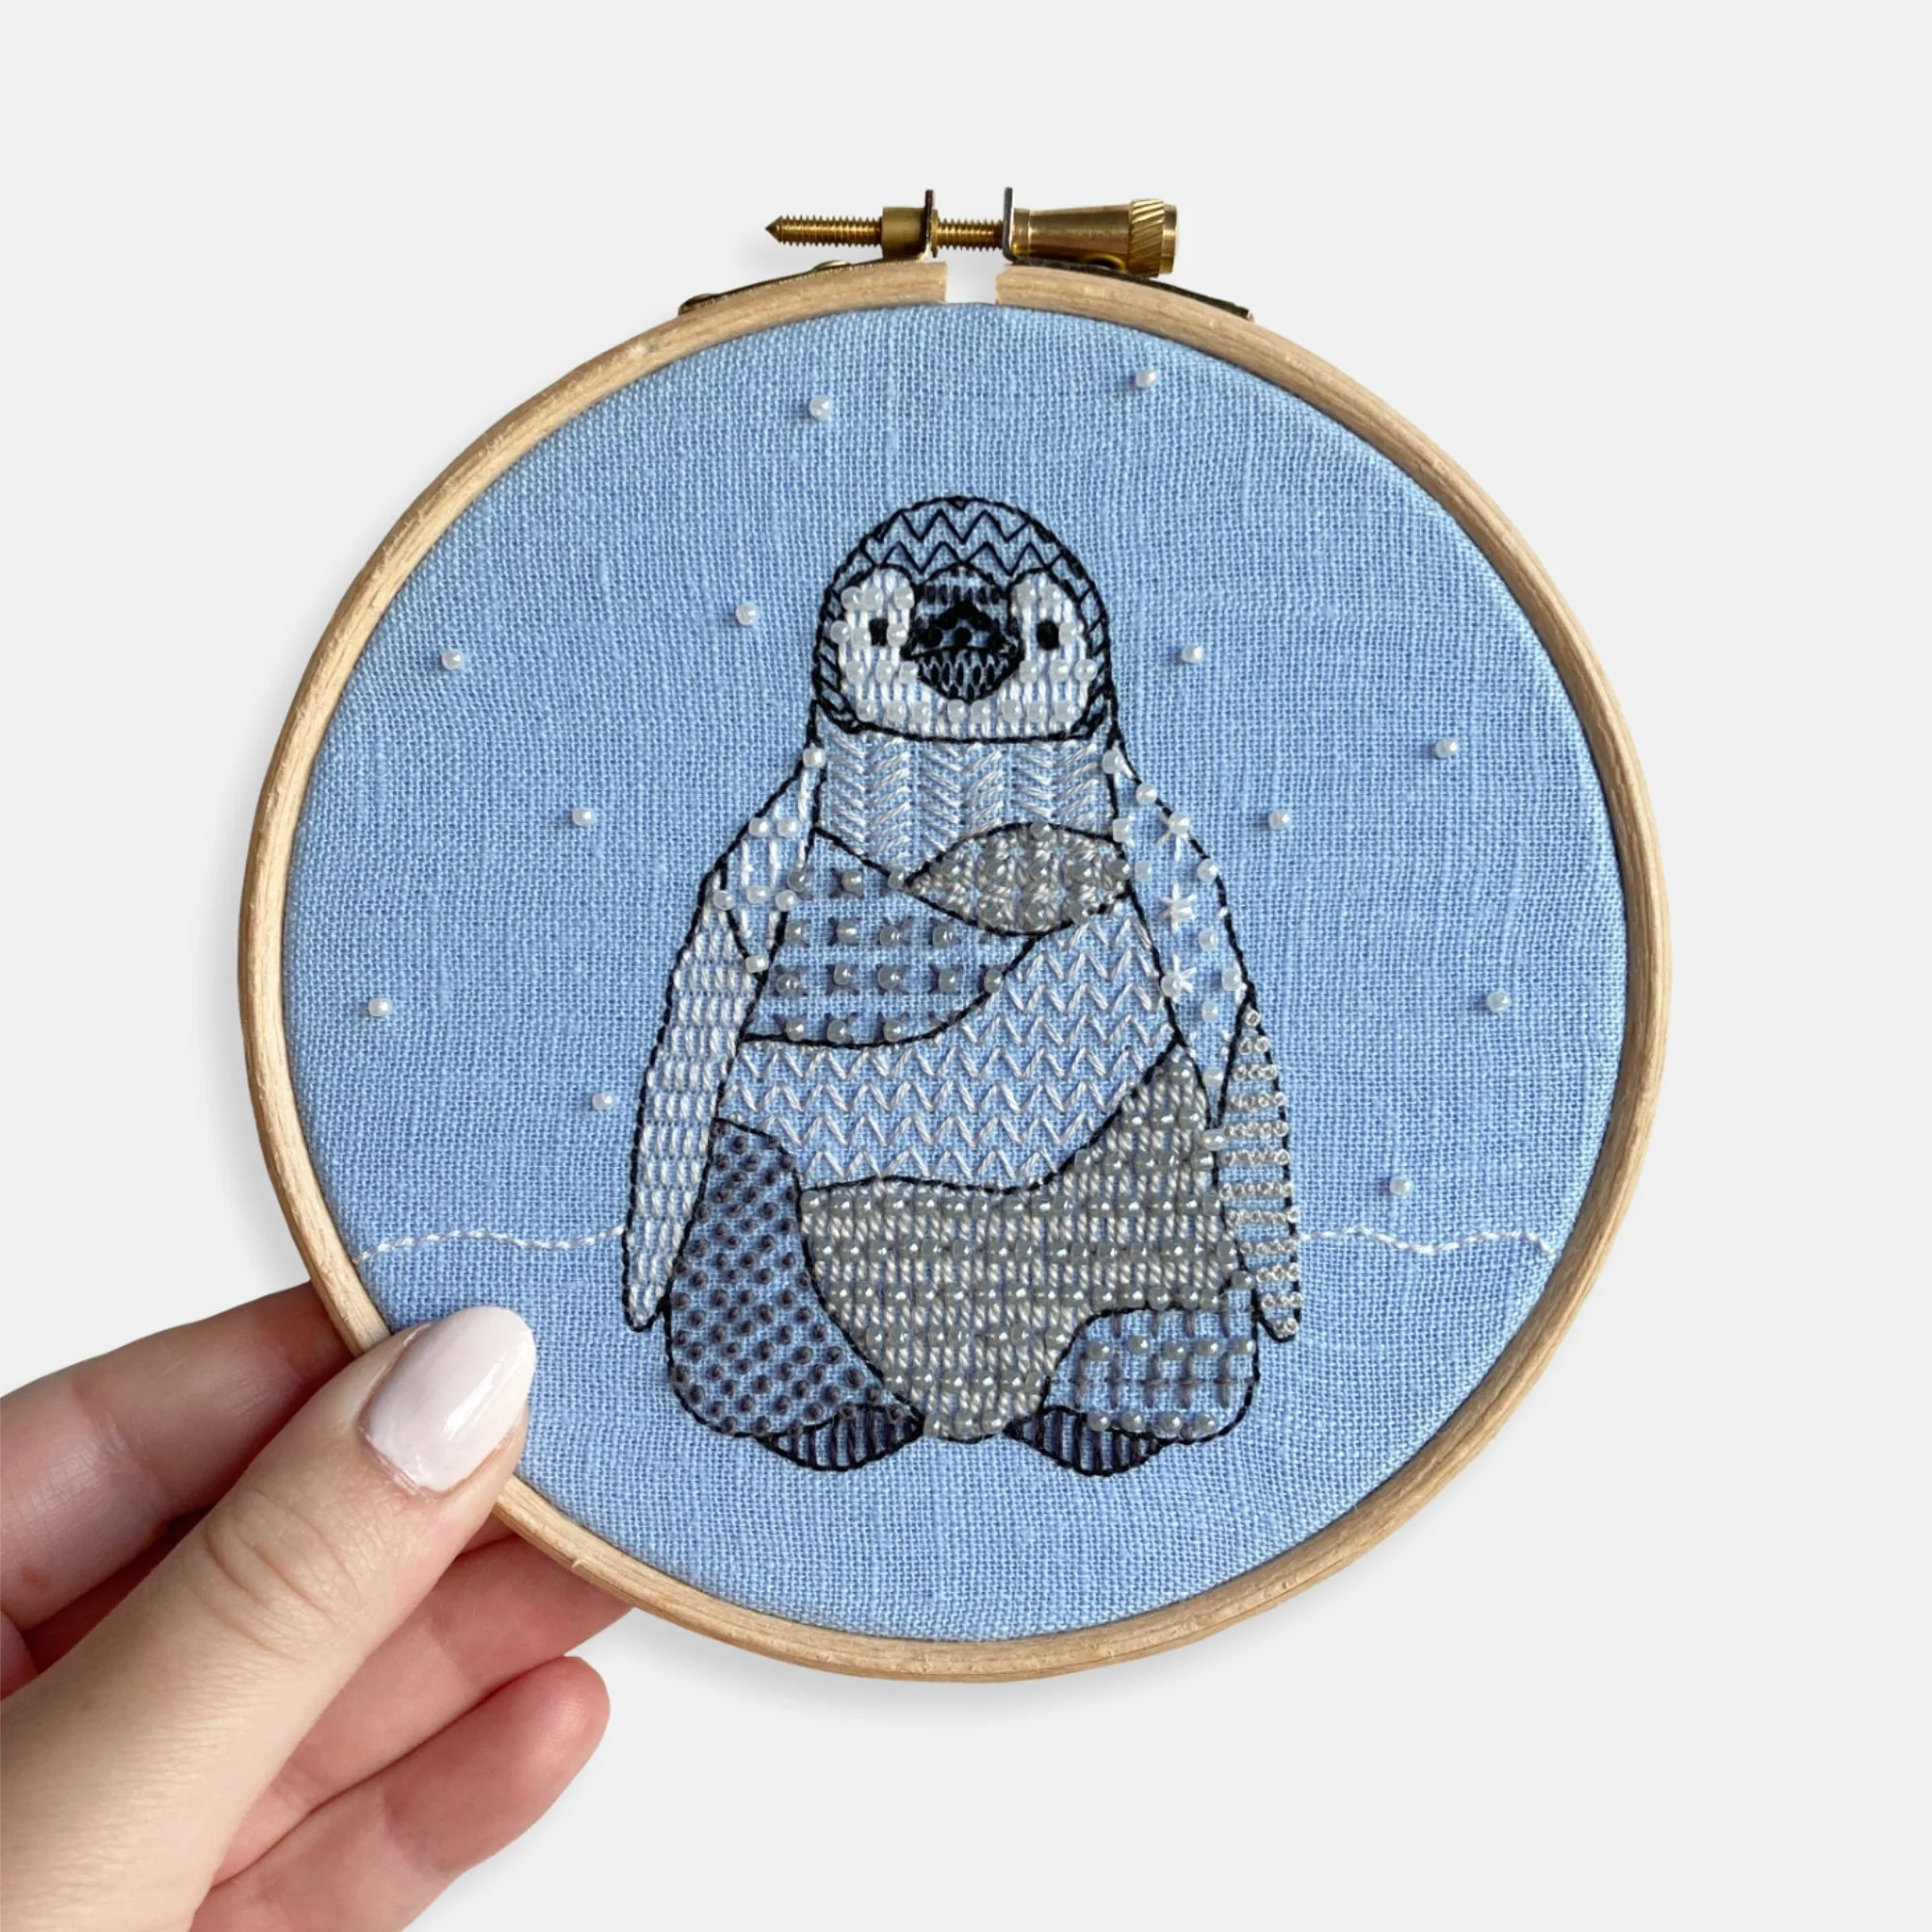
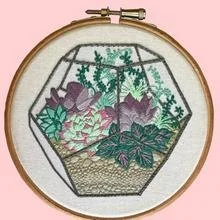
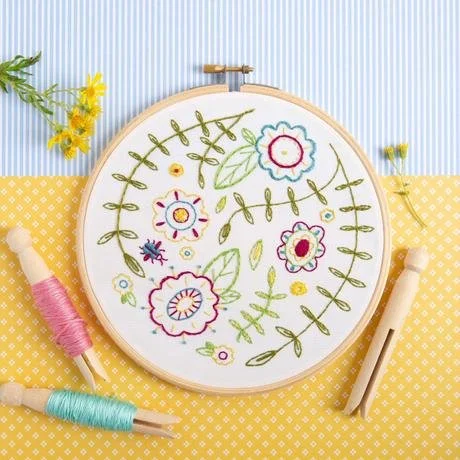
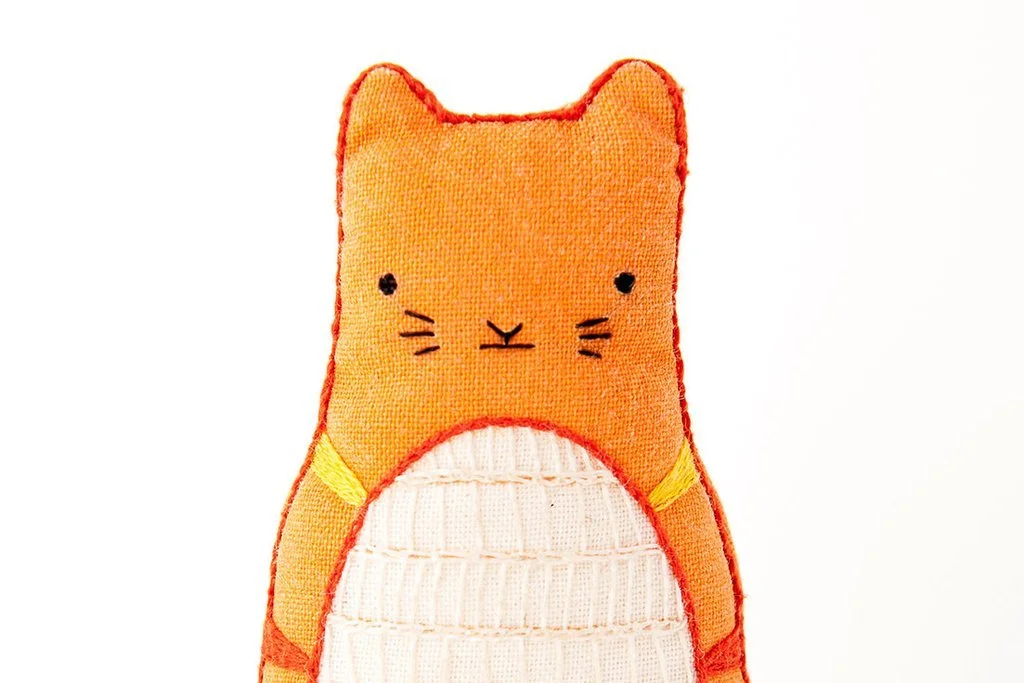
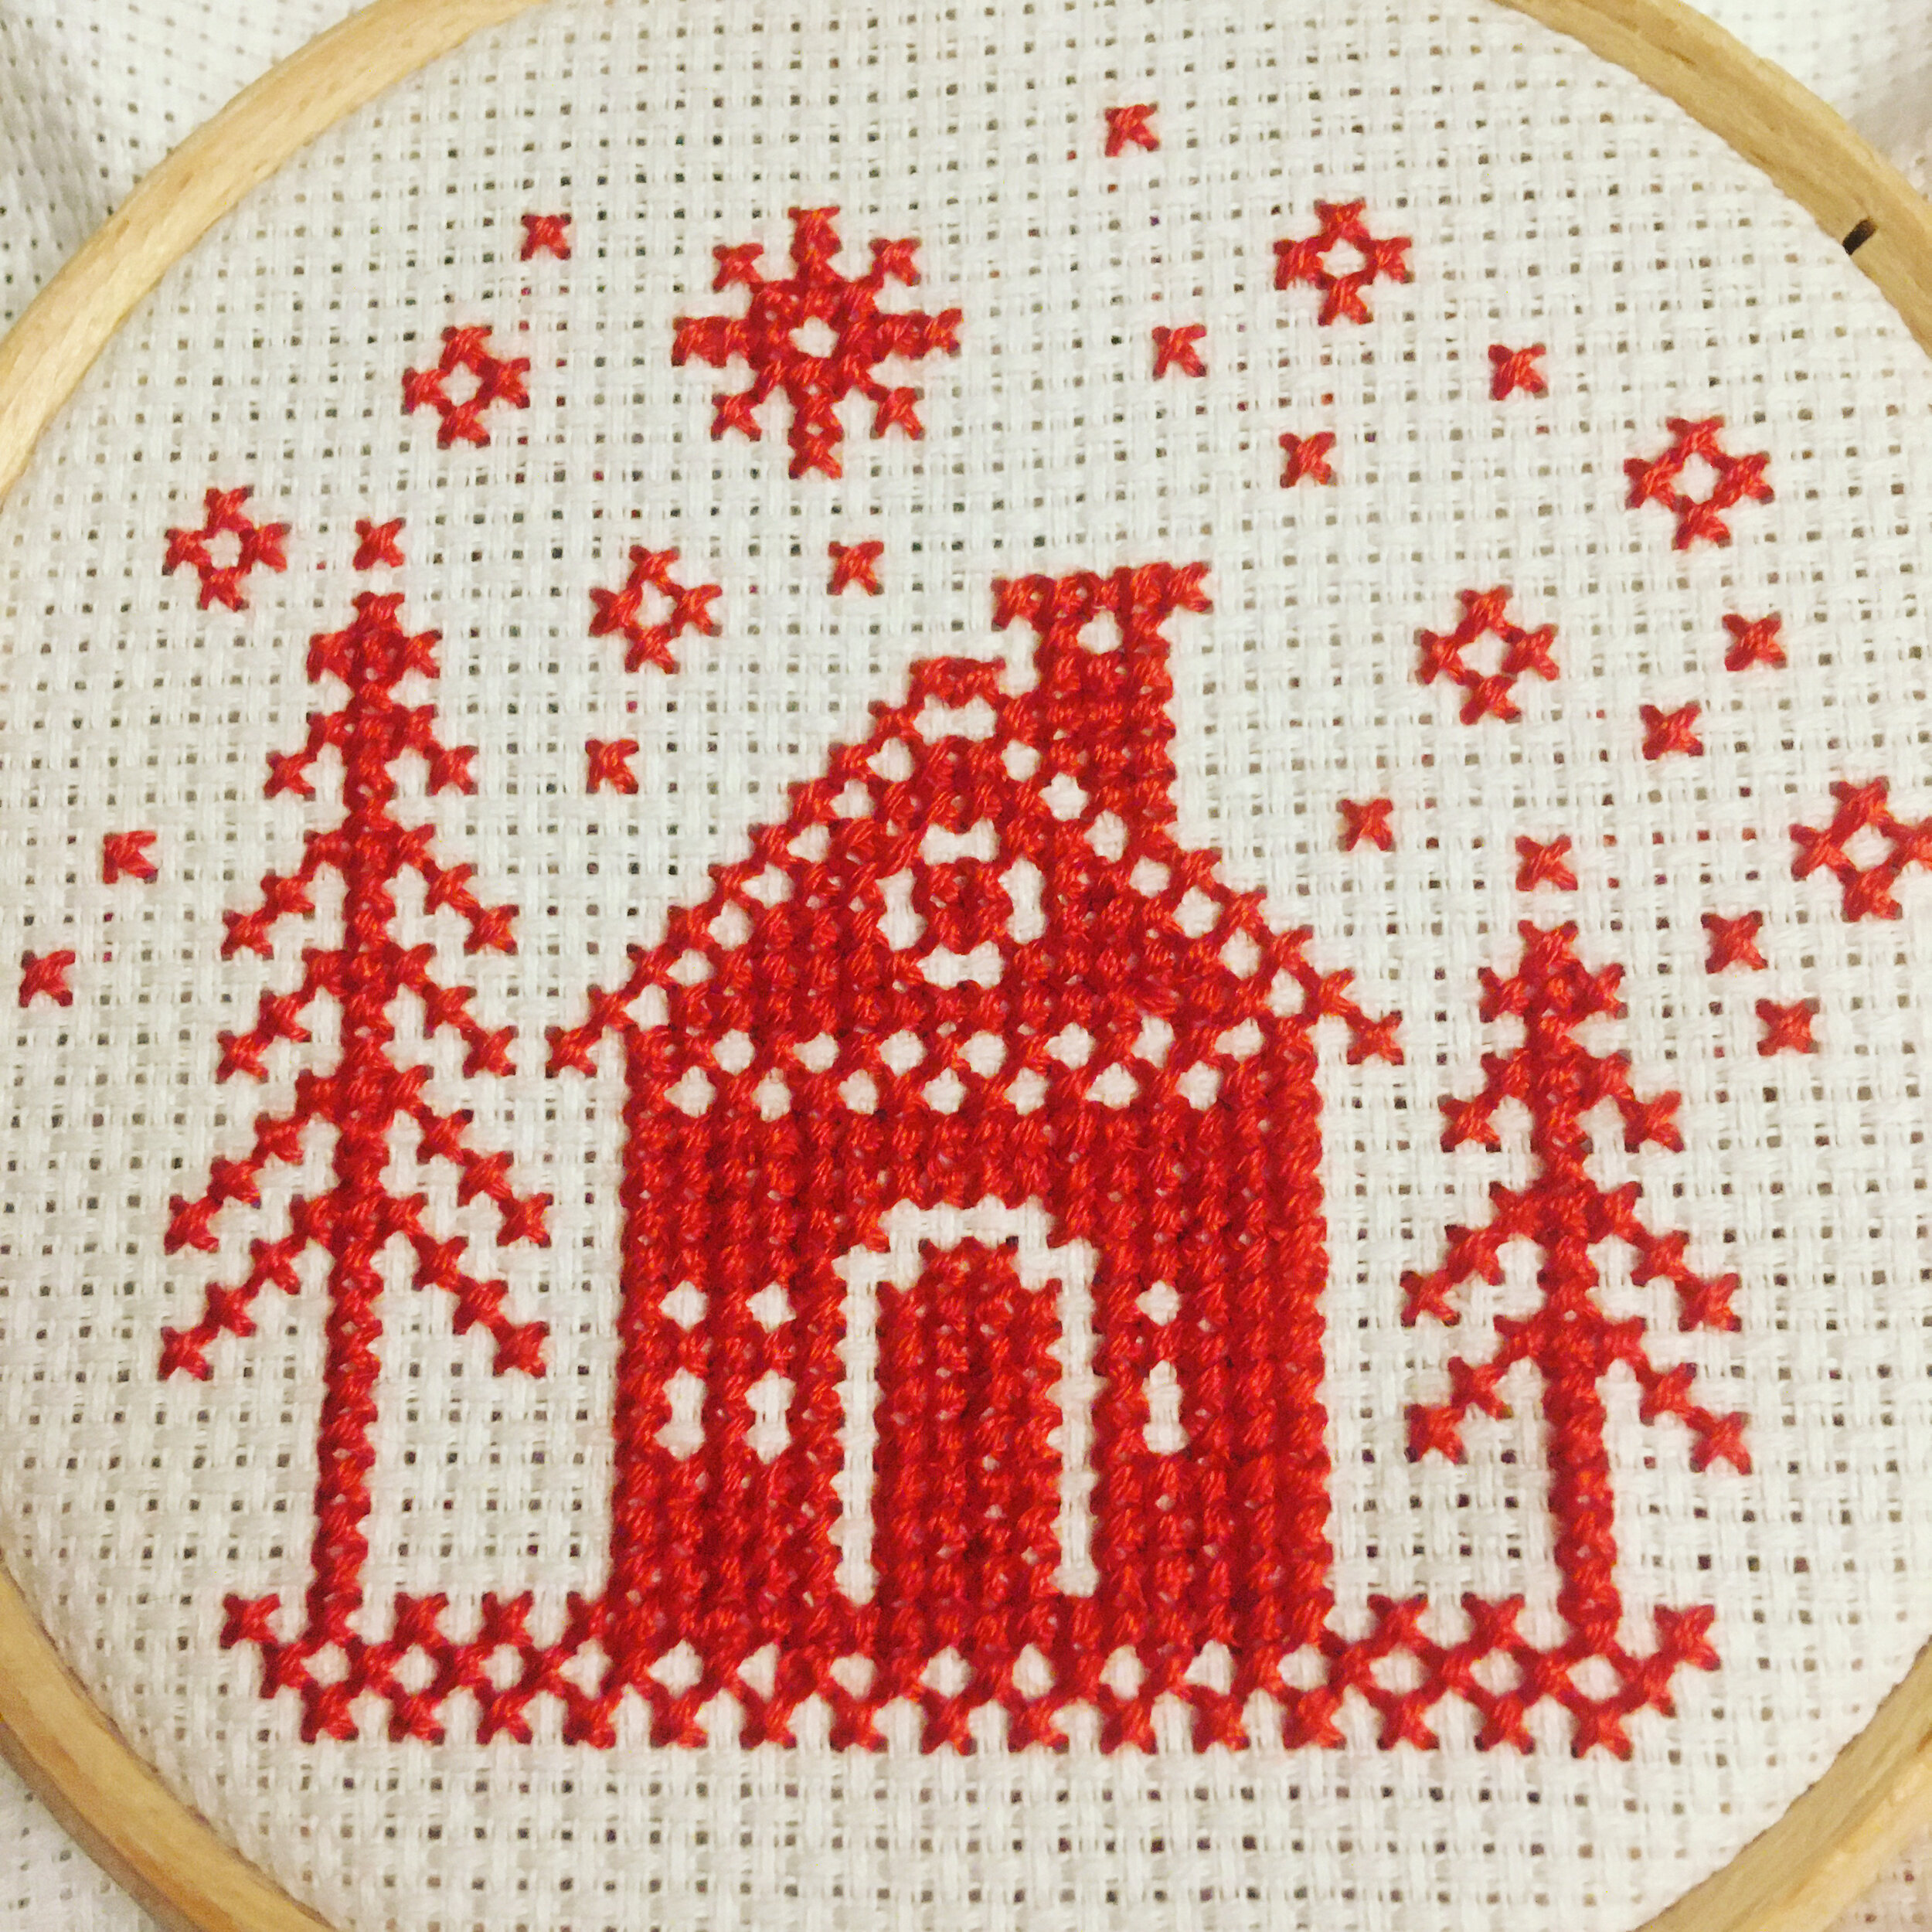
My kits also make great gifts for craft lovers, you can browse my shop here.
Enjoyed this blog post? I share embroidery tips and a free embroidery pattern in my monthly newsletter. Sign up here to receive the newsletter on the 1st of each the month.