
You can use pretty much any thread for embroidery. One of my favourites to use for creating more abstract embroideries is yarn. As an avid crafter I have quite a stash of yarns left over from knitting and crochet projects. Embroidery is a good way to use up shorter lengths of yarn that can’t be made into a knitting or crochet project. Here are my top tips for embroidering using yarns:
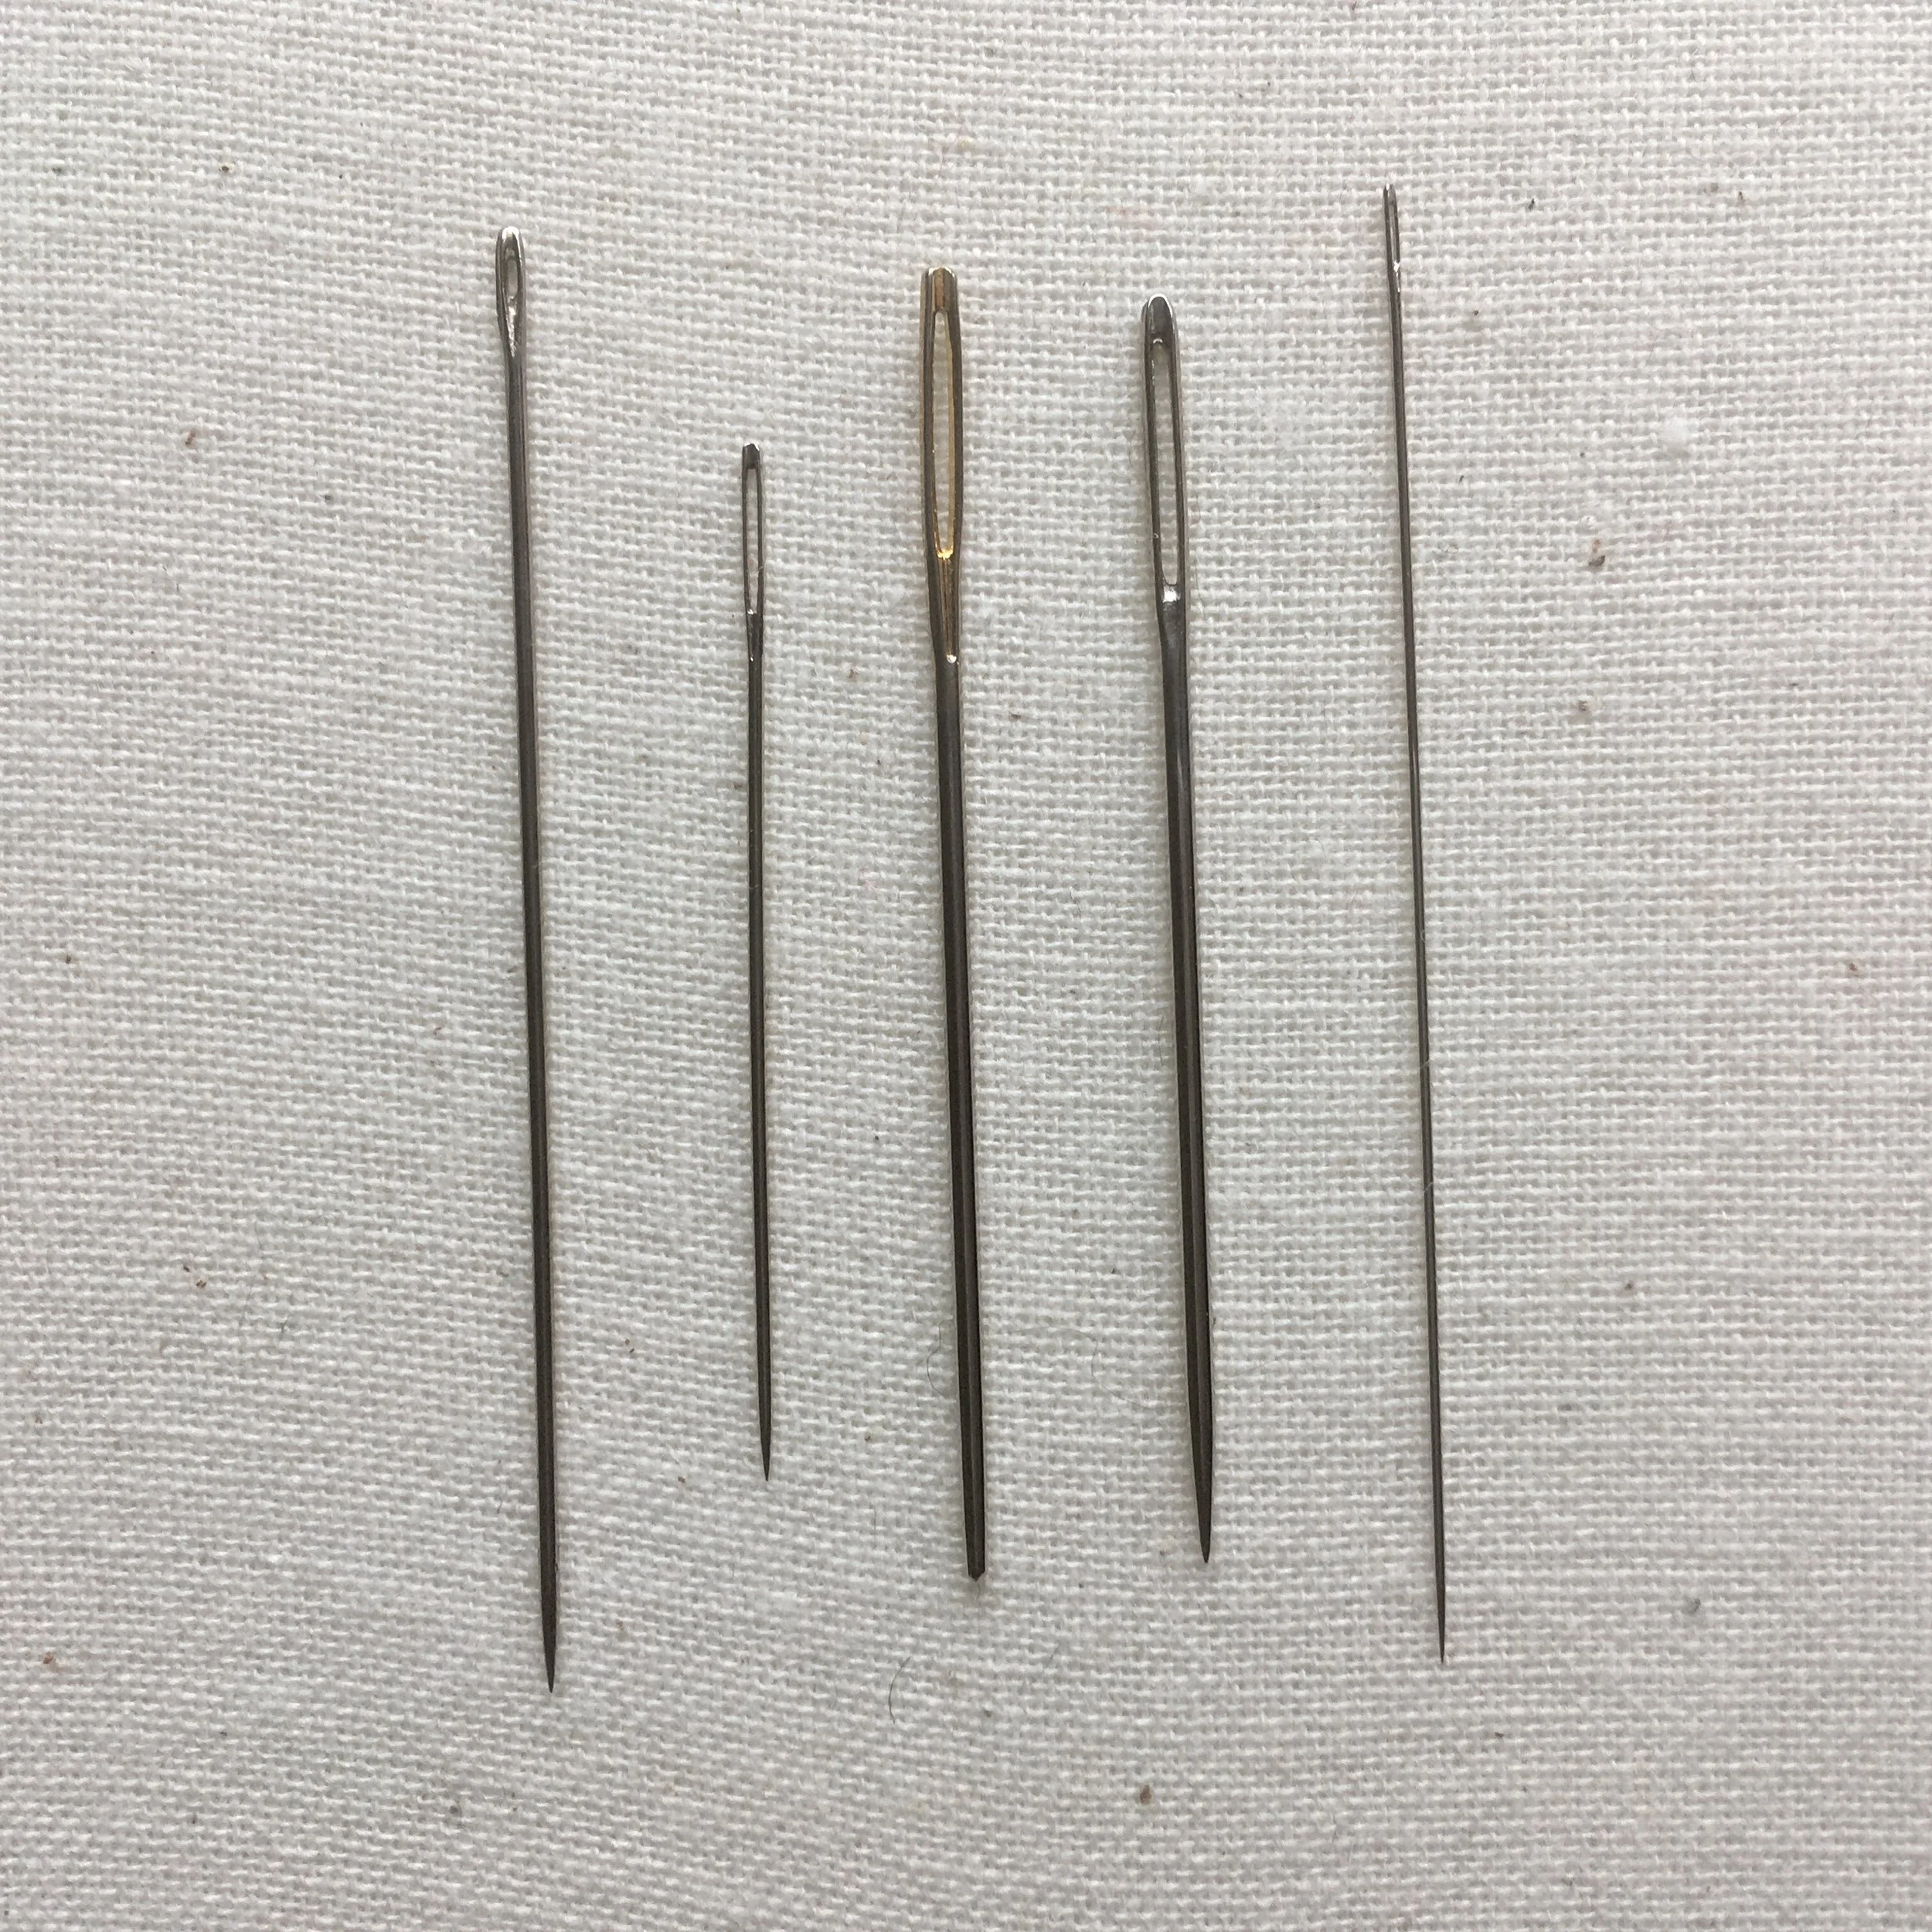
Use a large eye needle
The yarn you use will be much thicker than standard embroidery floss so you’ll need to find a needle with a larger eye to fit the thread through Chenille needles work particularly well for yarn embroidery as they have a very sharp point and a large eye (second needle from the right in the picture).
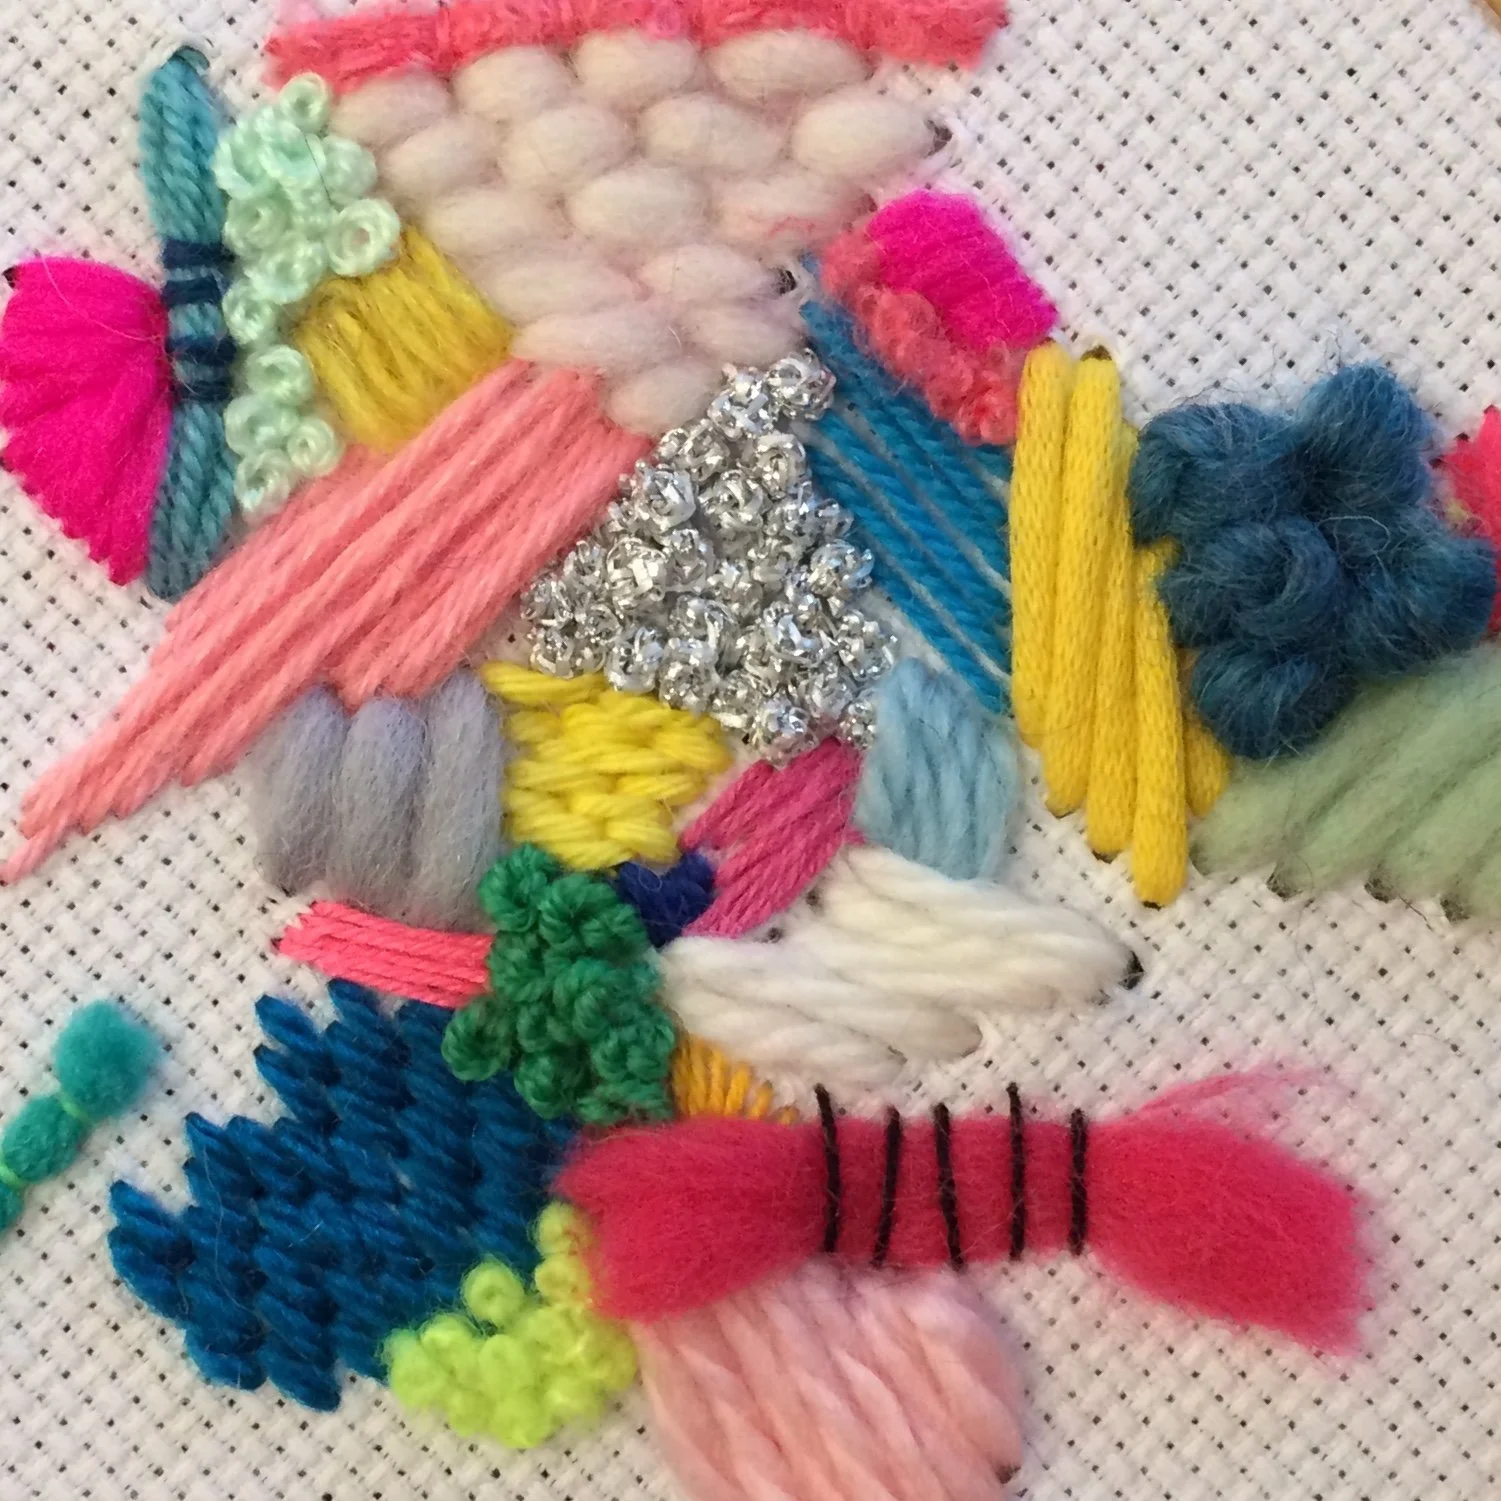
Use an open weave fabric
When embroidering the stitches pass through the fabric between the warp and weft threads. The tighter the weave of the fabric, the harder it will be to physically get the yarn through the fabric. Open weave fabrics such as linen, hessian or aida (such as used for this piece) are much easier to stitch on when working with yarn.
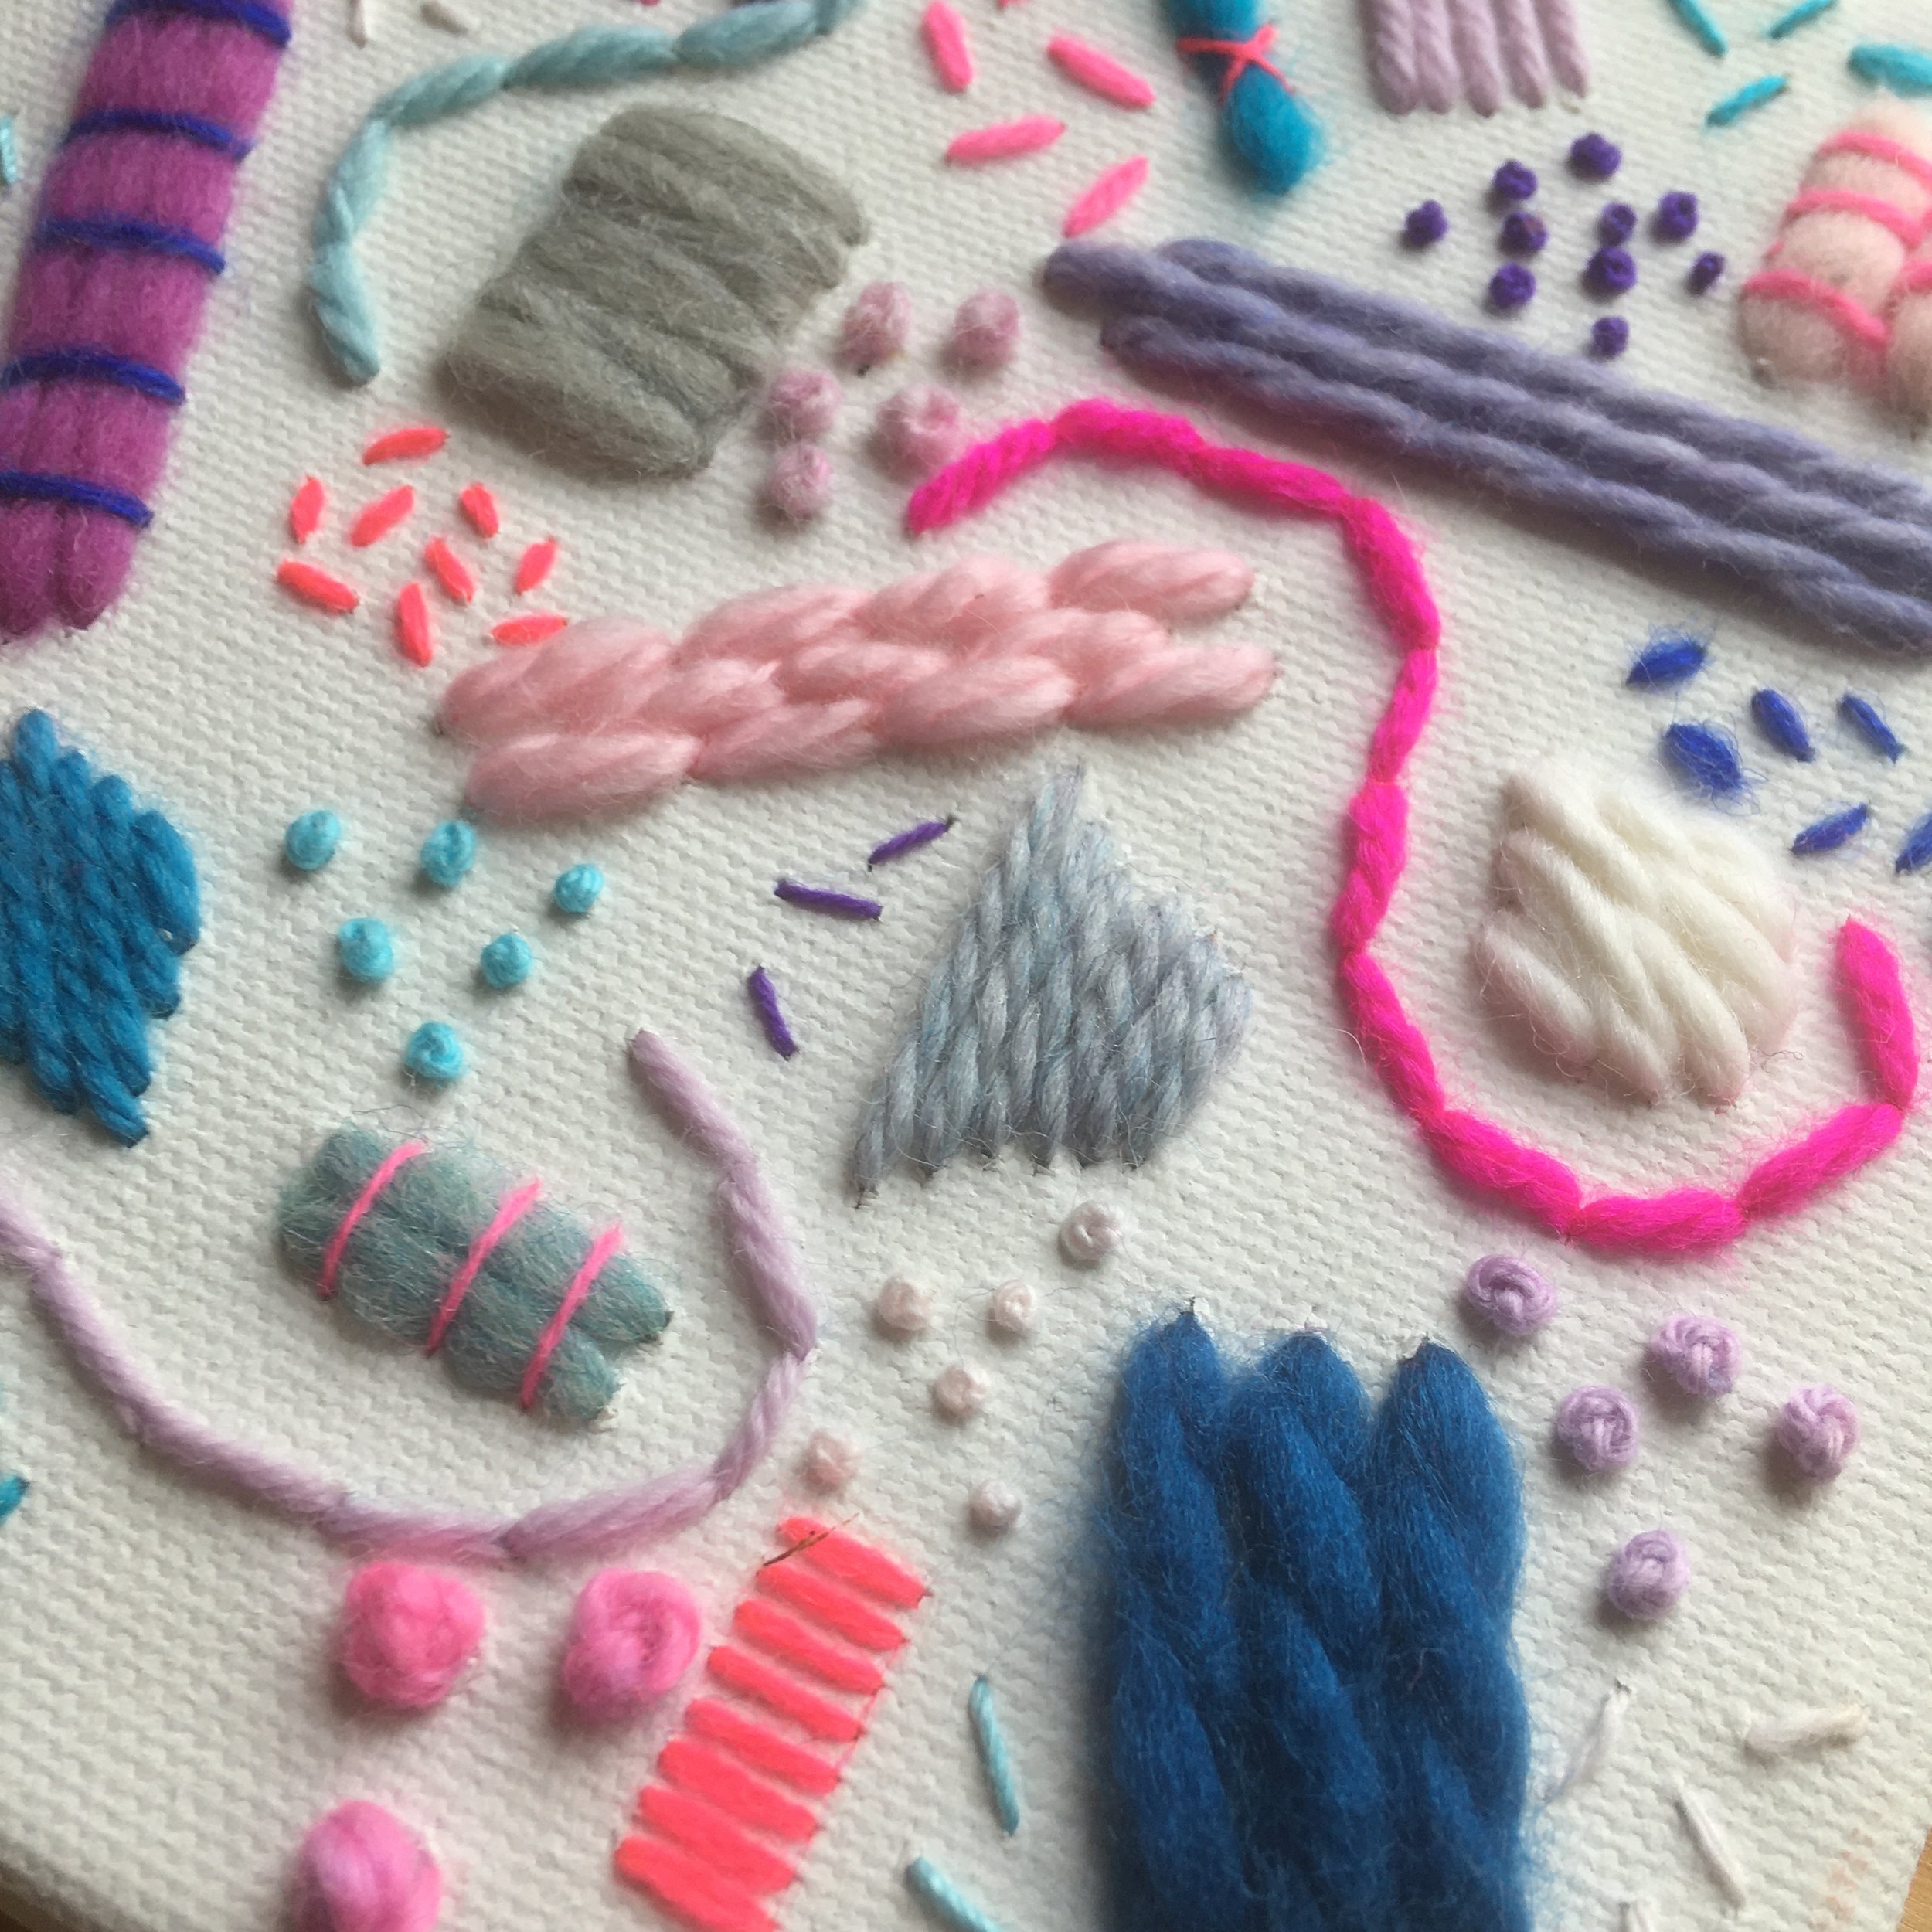
Use a heavier weight fabric
Each strand of yarn is thicker and heavier than embroidery floss. This means that the fabric being stitched onto needs to hold that additional weight. Thicker fabrics such as canvas (used for this piece) or felt can help make sure the additional weight is held. Alternatively using a second layer of fabric can also provided the additional support needed.
Keep the stitches simple
Stitching with thicker yarn can mean the definition on more complex stitches is lost, especially if the yarn has any sort of fluffy texture to it. Simple stitches such as straight stitch, seed stitch, back stitch, running stitch, brick stitch and satin stitch work well.

Stitch carefully
With thicker thread you’ll be creating larger holes in the fabric. Therefore if you make a mistake and need to unpick the stitches those larger holes will remain. This piece was stitched on felt which held the weight of the stitches well but when I unpicked any stitches I had to think carefully about covering the holes that were left behind.
Enjoyed this blog post? I share embroidery tips and a free embroidery pattern in my monthly newsletter. Sign up here to receive the newsletter on the 1st of each the month.