Long and short stitch is a great way to fill large areas if satin stitch isn’t suitable or you want a more textured look. It is a variation on satin stitch, where the area is covered using one long stitch, but instead of covering the whole area with one stitch you are breaking that one stitch up into several sections of random lengths. It is the different lengths that add the texture.
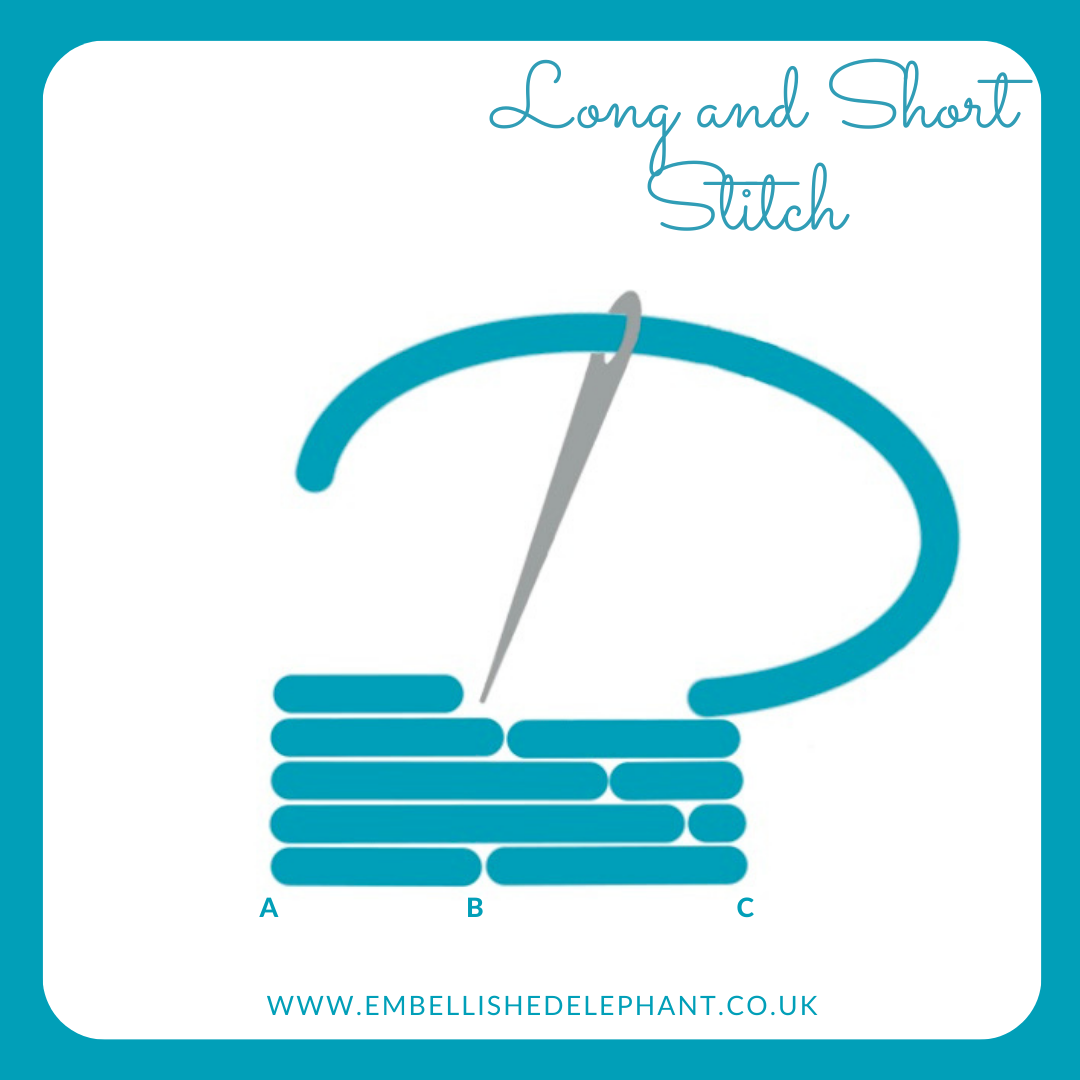
Starting at one edge make stitches of varying lengths (A to B).The aim is to make sure that stitches next to each other don't start and finish in line.
Once one side of the area has been stitched then move on to fill the next section (C to B)
It is easiest to work long and short stitch in sections. Try to divide the area to be filled into two or three sections. The header picture is stitched in two sections, the light green and the dark green
If stitching in three sections then stitch the outer and inner edges first before filling in the middle.
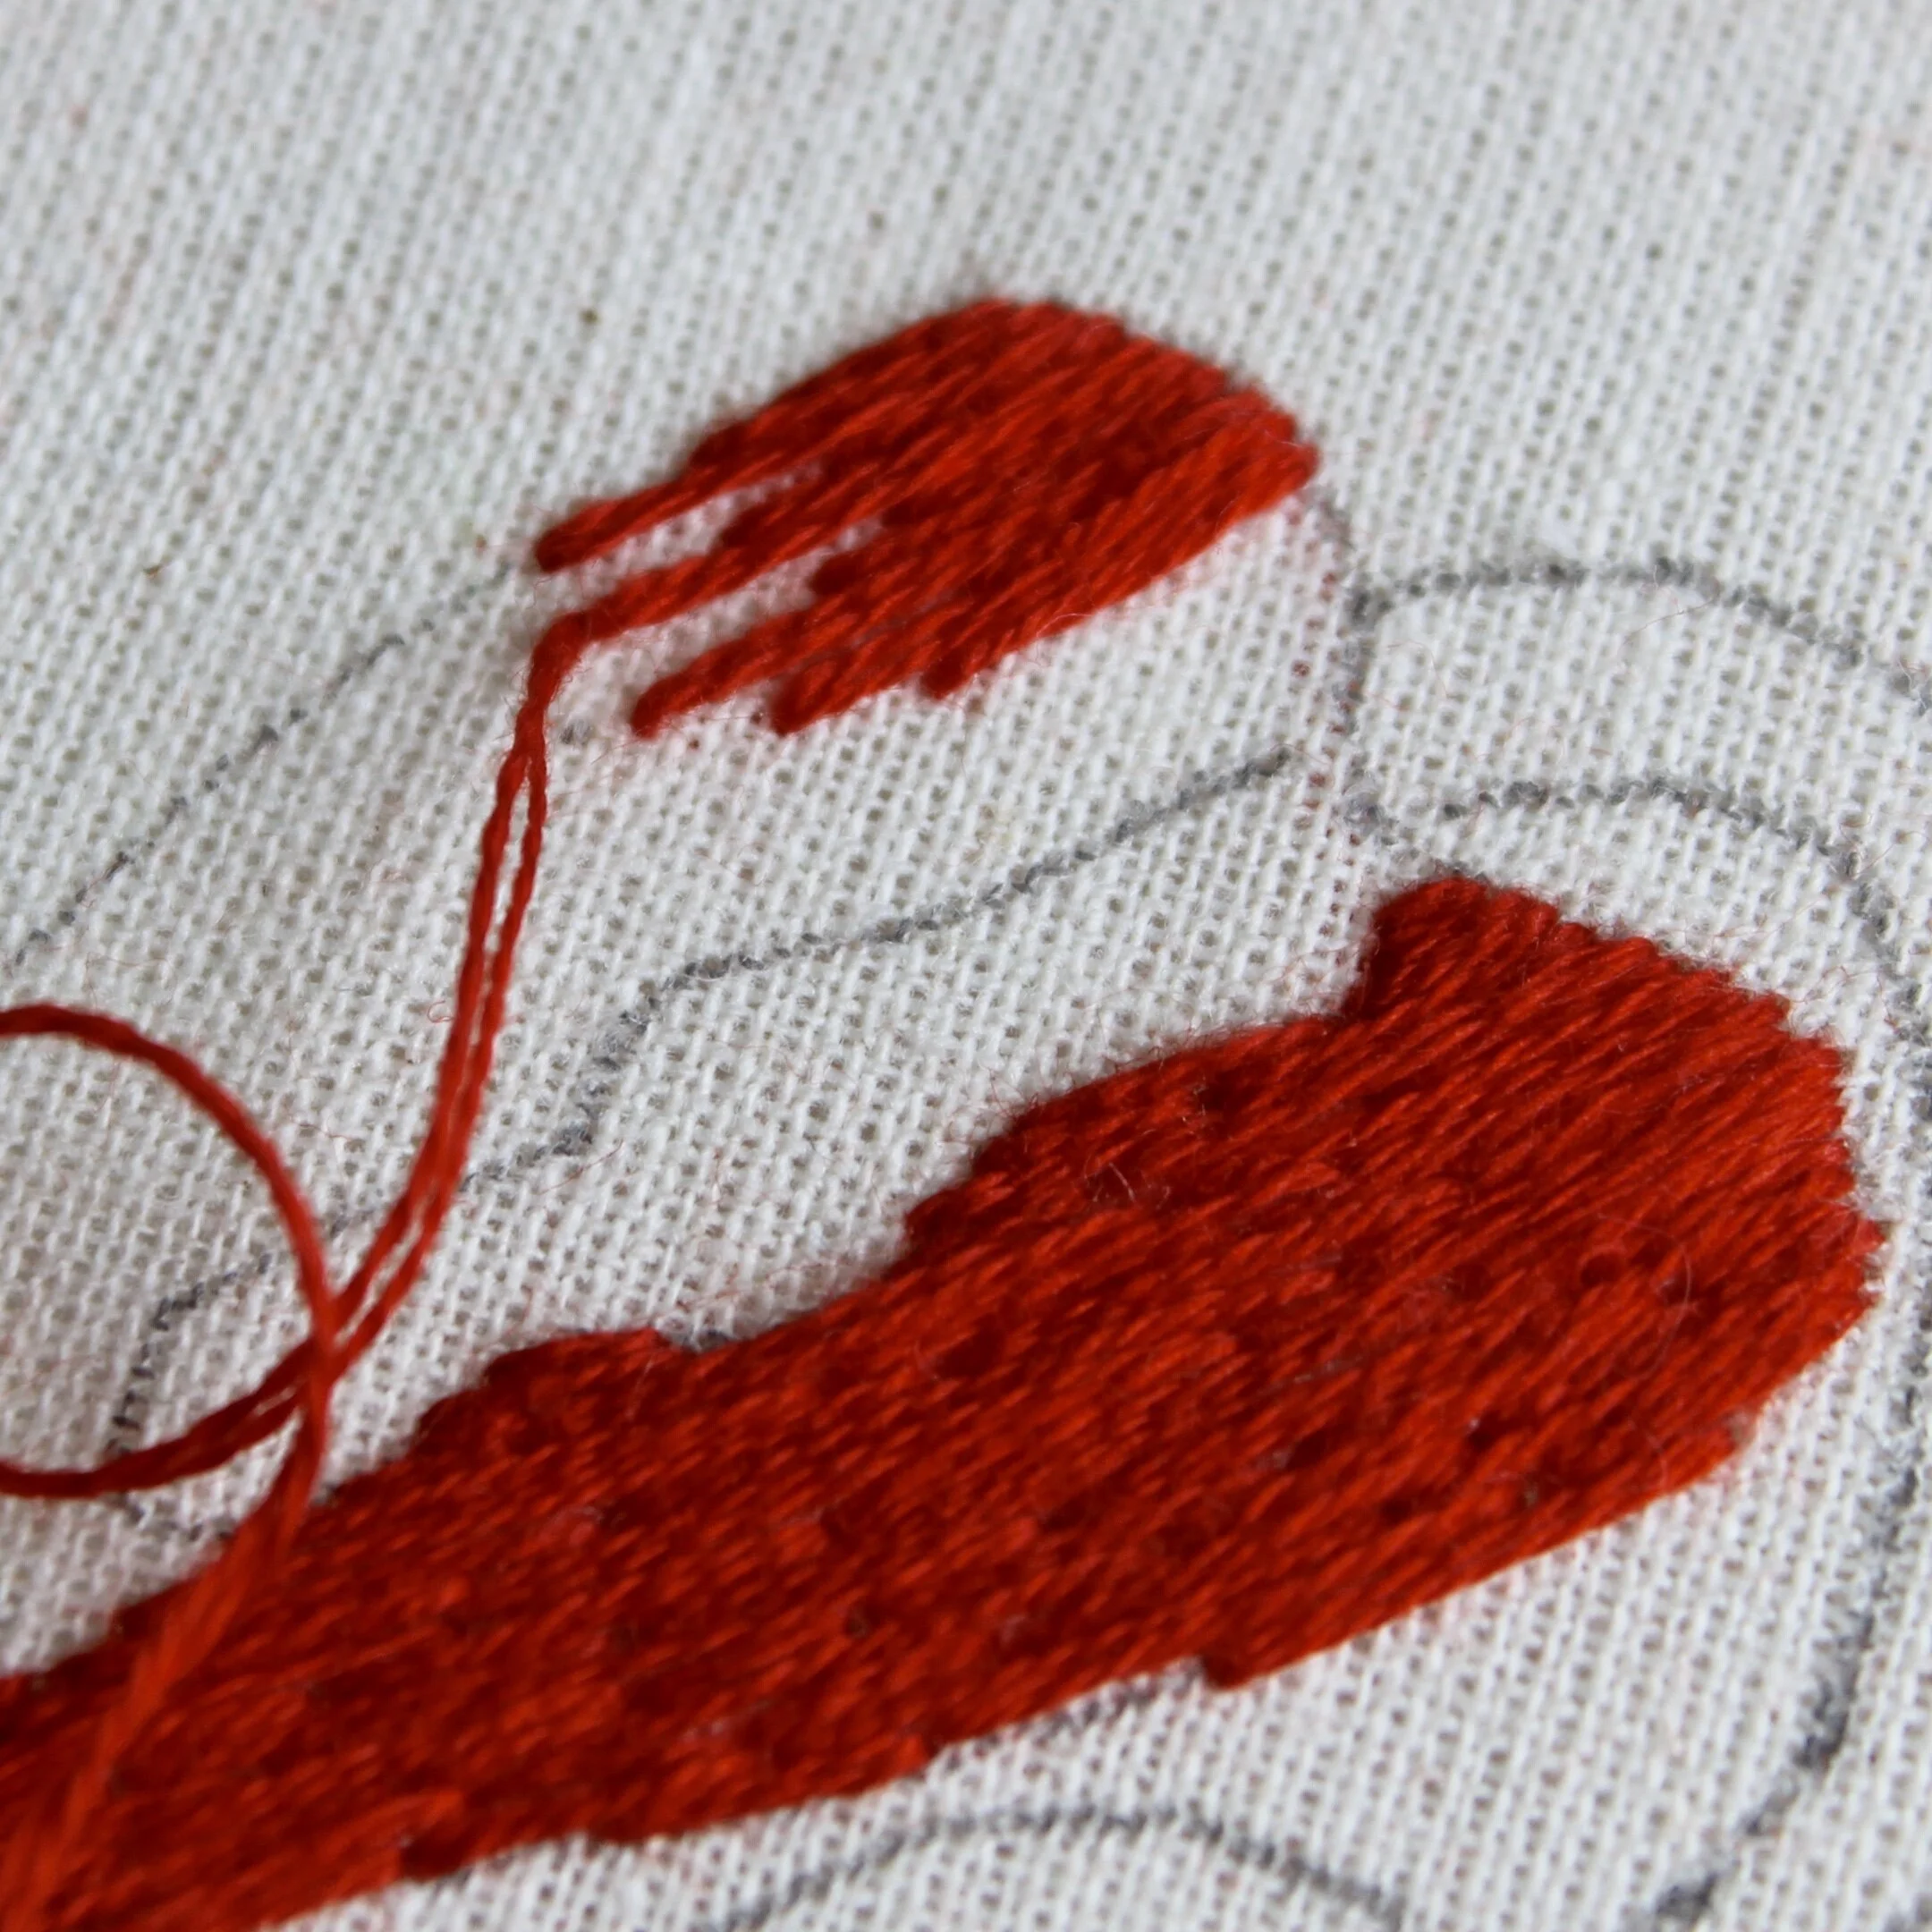
The picture below shows long and short stitch in progress and shows the texture that can be created when using one solid colour.
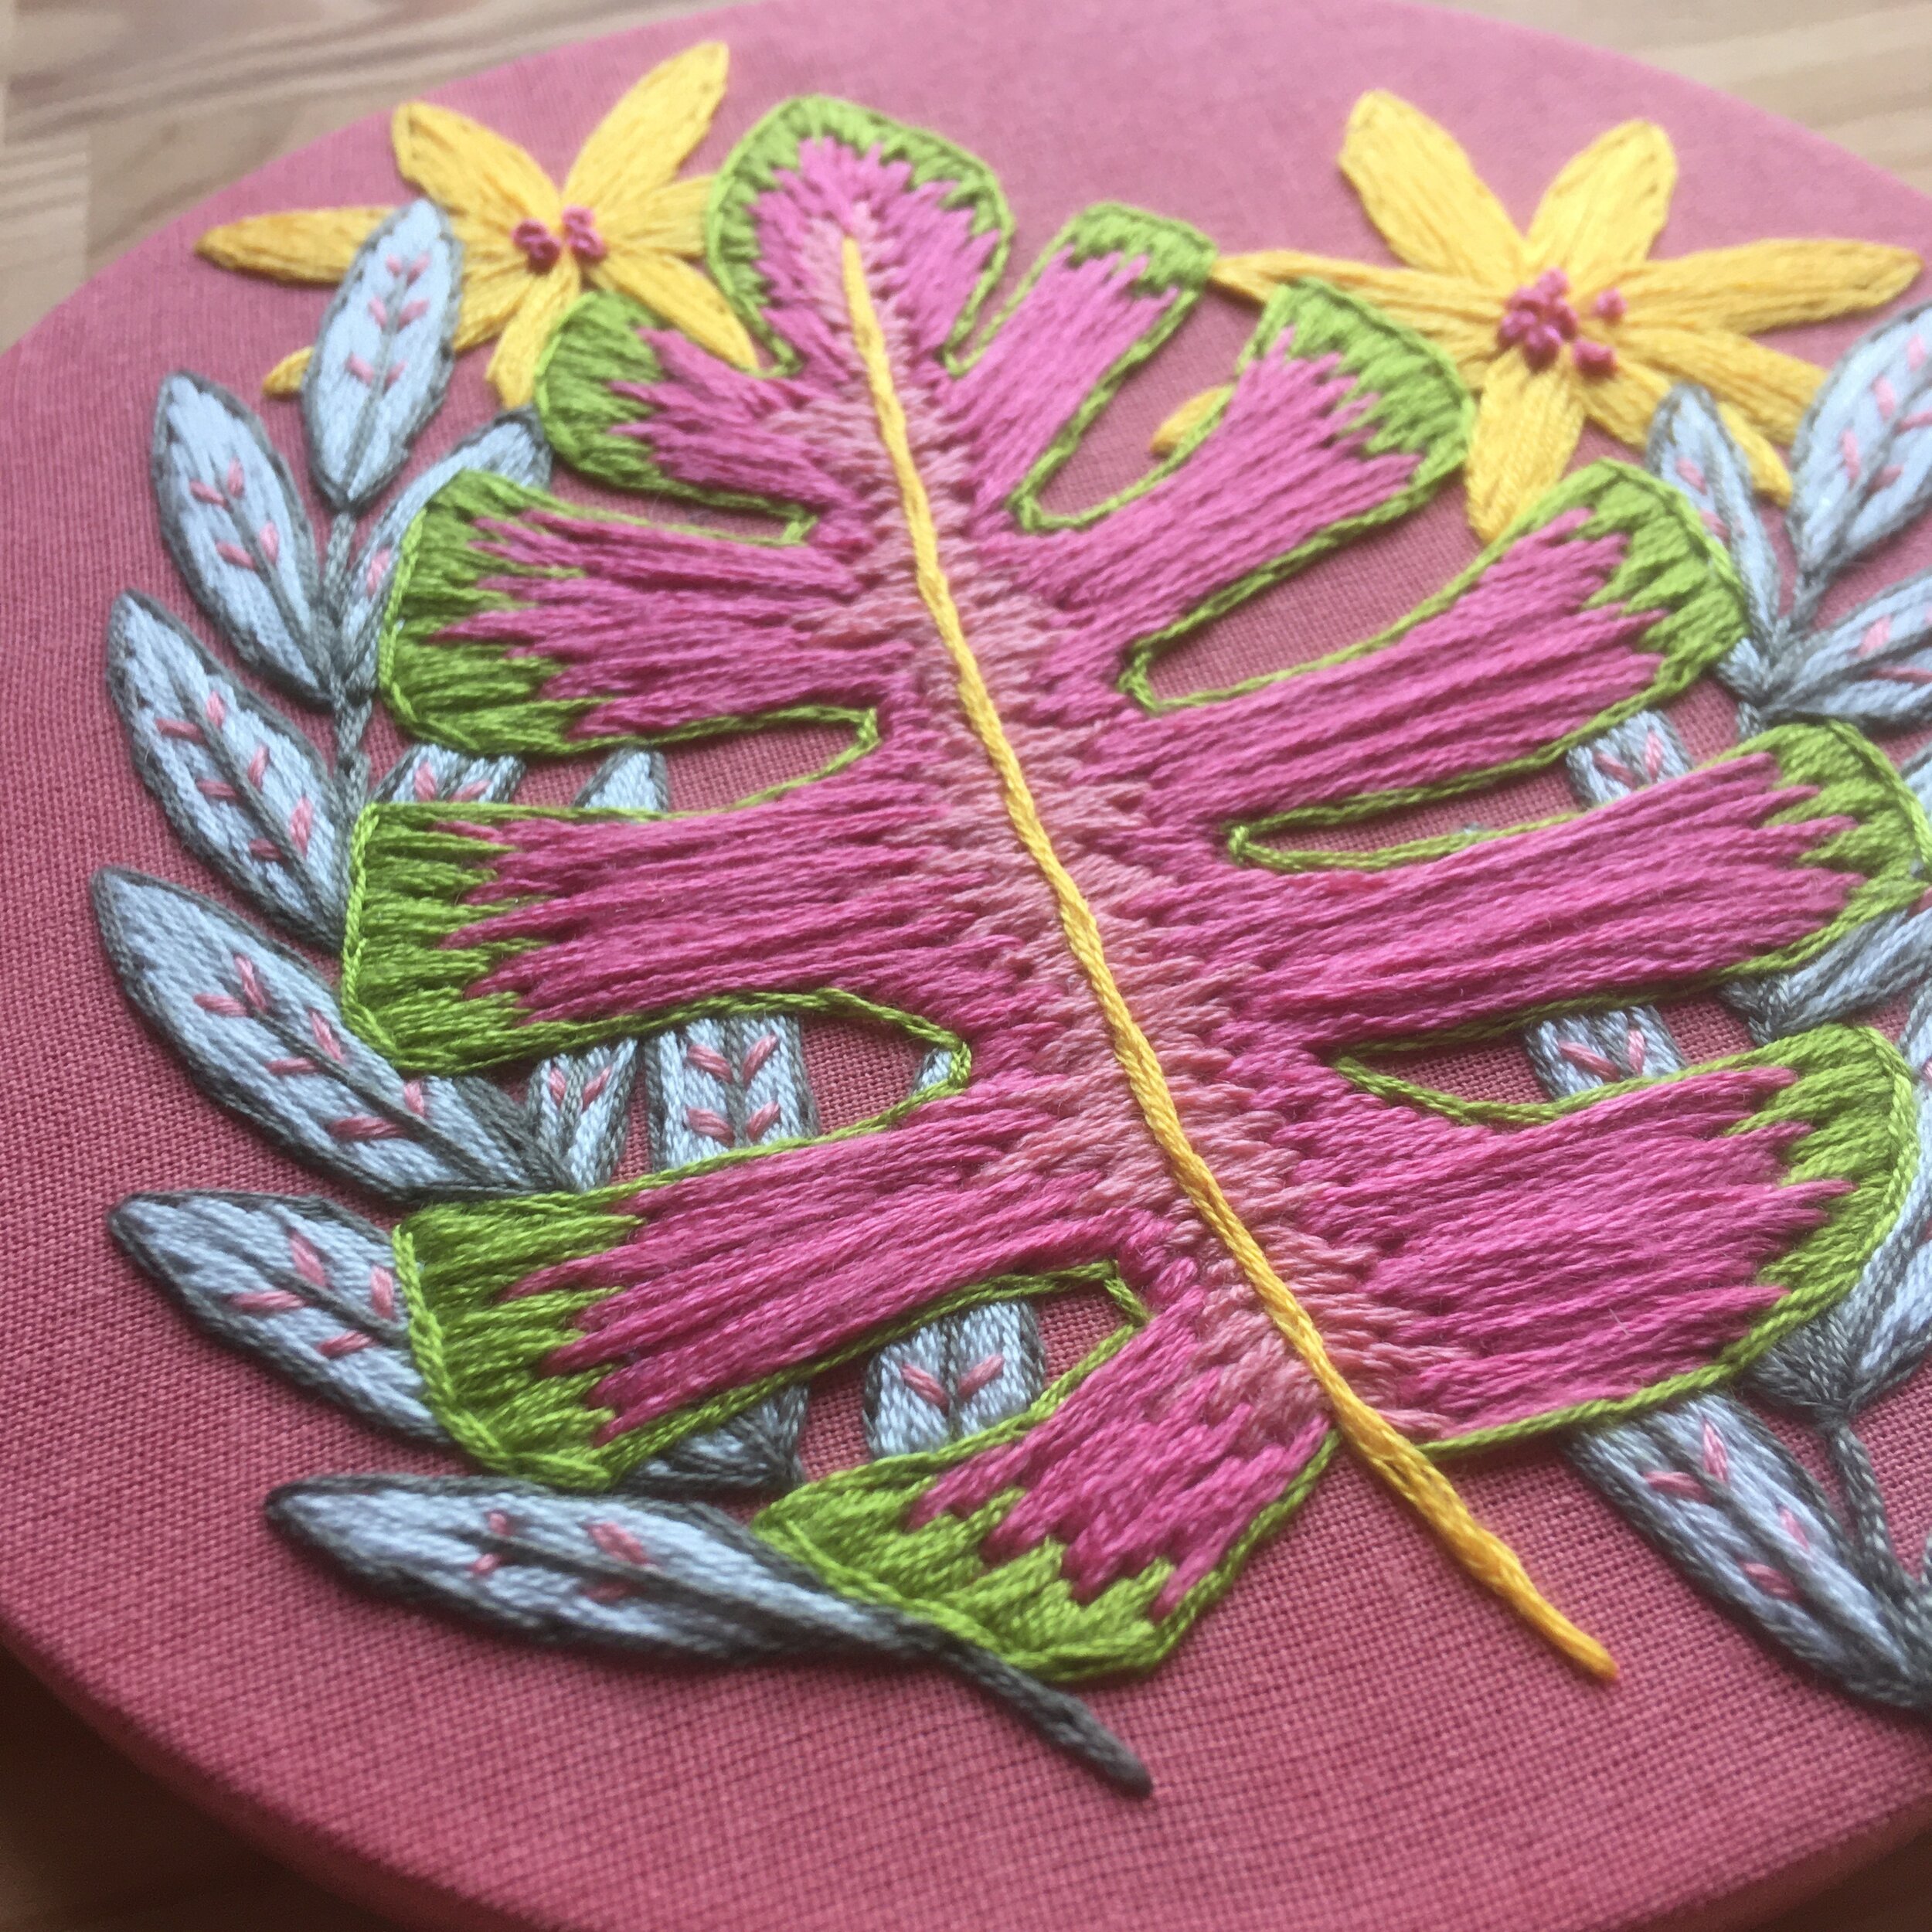
Lucy Freeman uses a lot of long and short stitch in her colourful botanical embroideries. This is a piece I stitched from one of her kits. It is stitched with all 6 strands of embroidery floss using long and short stitch. The green outer edge and light pink inner edge are stitched first before the central bright pink.
Want to try this stitch? It is one that I recommend using in my crocus embroidery kit.
Sign up to my email newsletter to get a monthly free embroidery pattern and a round up of Stitch Showcase blogs.