
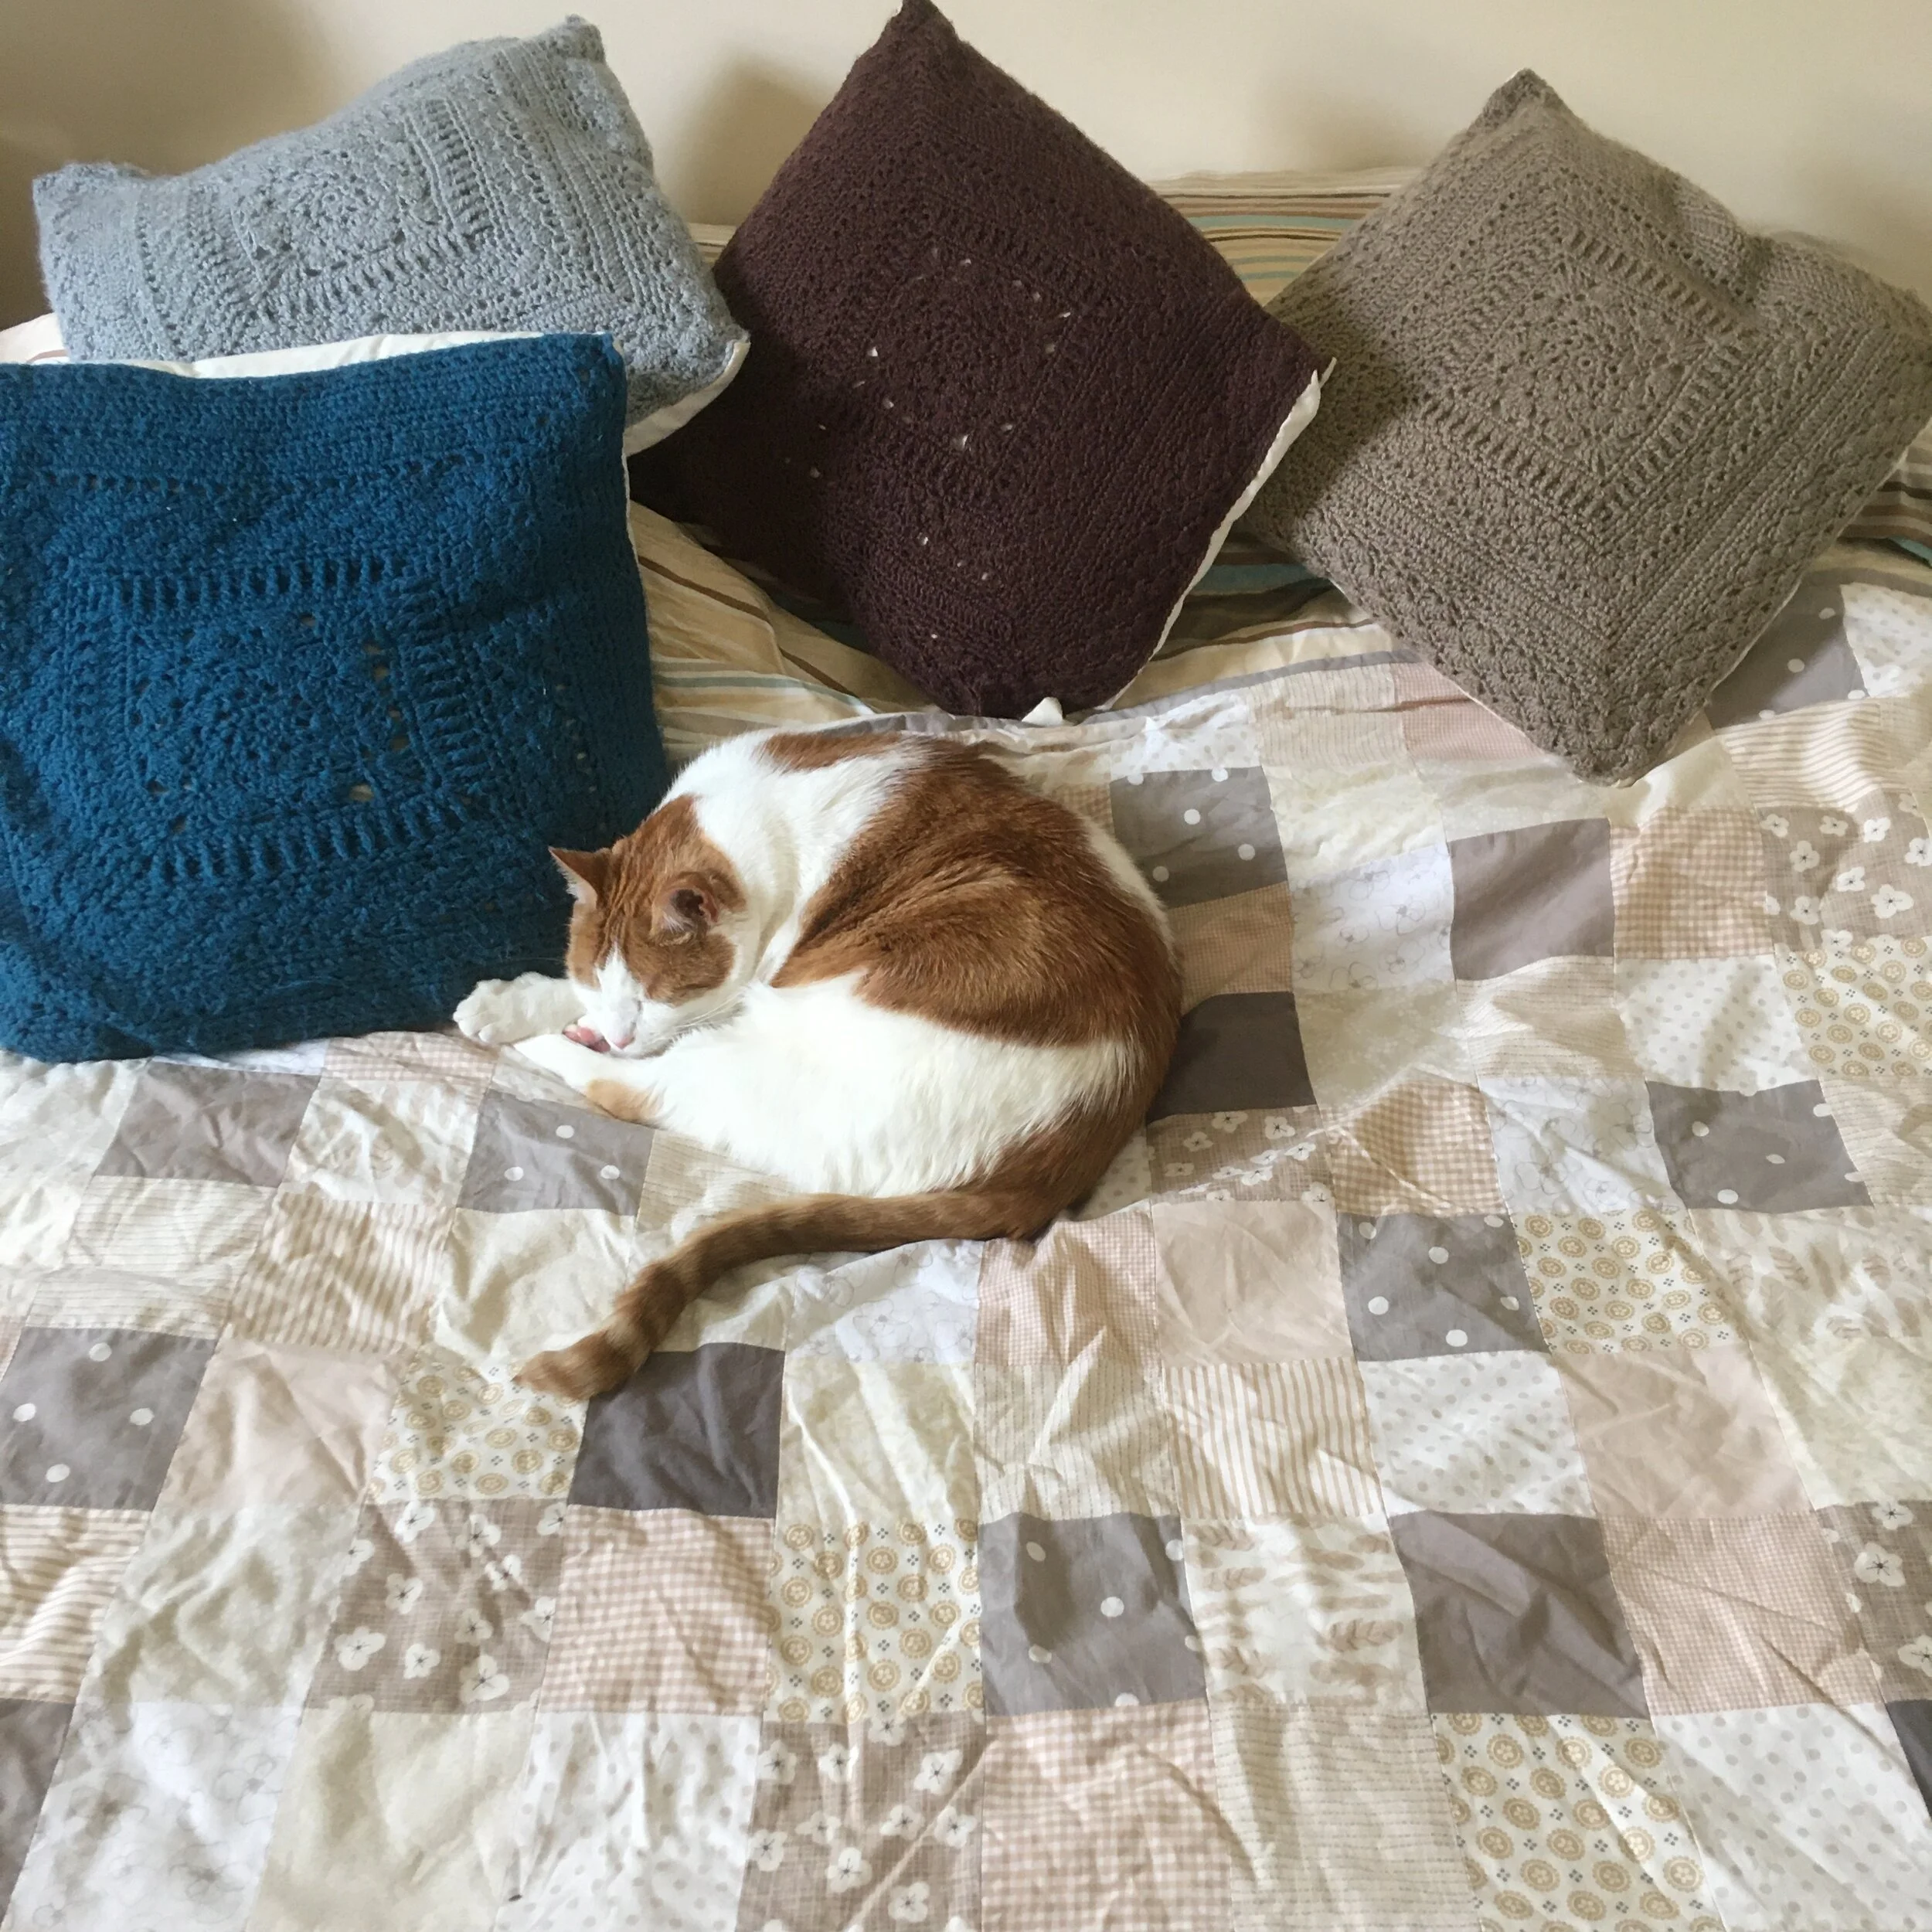
We have a cat. He's great. But we are first time cat owners and we didn't appreciate that cat hair GETS EVERYWHERE.
His favourite hobbies are eating and snoozing and in a futile attempt to minimise the amount of cat hair on bedding I thought I’d make a quilt top to protect the duvet on the spare bed.
If you want to make a simple quilt such as this one here’s how:
Collect together fabrics in your selected colour way (my cat is white & ginger so I chose neutrals which should show his hairs less) if you can, collect a mix of plain, stripes, dots and other patterned fabric
A cutting mat, rotary cutter and quilting ruler help make the cutting out process much easier and fun! I cut my fabric into 10cm squares (with a 1cm seam allowance the finished sized square was 8cm)
Lay out the squares on the floor. I found that setting a few ‘rules’ helped me for example not having the stripes all going the same way, how many plain squares I wanted per row/column. The number of squares you have per fabric may also vary and you can decide on the number of squares of that fabric per row/column which also helps with the layout
Step away from your laid out pattern and make a cup of tea, when you come back, look again at the layout and see if there is anything that needs to move around, especially with dominant colours or patterns which catch the eye first (but don’t forget the other sections which you may spot later and jar with you)
Take a picture of your layout so you can make sure you are still happy with it later (and it can be used as a reference point if any of the squares get muddled up
Pin the squares together in strips, use scrap paper pinned to each strip to number each one so that you can identify each piece
Using a constant seam allowance (I used 1cm) stitch each square to the others in the strip
Once each strip has been sewn, press the seam allowances flat
Pin the strips together. If any seam allowances don’t match up across strips you can decide whether to live with the mismatch or unpick and re-sew
Once all the strips have been sewn together you will have one large panel, press any new seams open so that the panel is completely flat
I cut out backing from a cheap king sized sheet by laying the sheet flat on the floor and laying the panel on top and cutting with a generous seam allowance
For my quilt I wasn’t looking for it to be too insulated so I didn’t include any wadding/batting, I just put an old sheet in the middle before pinning on the backing. I pinned the three layers together before tacking them together by hand as I find it easier to get the accuracy I’m looking for by hand rather than machine
For the edge of the quilt I used bias binding that I made from the same fabric as one of the squares. (This is a useful tutorial for making your own bias binding.) Again I attached the bias binding by hand, you can use a machine but you will probably need a walking foot to handle the different layers of fabric.